Here is an easy guide for tie-dye for beginners. I realized I had mucho posts showing techniques, but none about the BASICS.
This is based on Tulip Tie-Dye. I used to be a spokesperson for this company and LOVED this product. It’s been years since I worked there, and I still use it on a regular basis.

The main reason I use these kits is because they are so user-friendly. Tulip is one of the most popular brands for tie-dye projects because their kits pretty much come with everything you need: Dyes, gloves, rubber bands, and sometimes even project ideas.
Here’s a simple guide to tie-dye for beginners
Materials Needed:

– Tulip tie-dye kit of your choice
– 100% cotton T-shirt (or any item you wish to dye)
– Plastic table cover or trash bags (to protect your work area)
– Plastic wrap
– Plastic squeeze bottles (included in most kits)
– Rubber bands (included in most kits)
– Disposable gloves (included in most kits)
– Plastic bags or a sealable plastic container
Prepare:
– Wash your fabric (important!!!) to remove any finishes that may interfere with dye absorption. Do not use fabric softener.
– Set up your workspace by covering it with a plastic table cover or trash bags. Wear clothes you don’t mind getting stained.
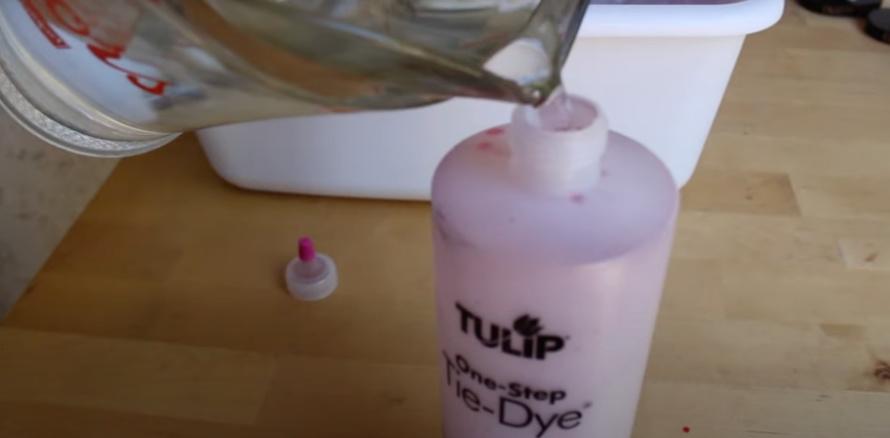
– Prepare the dye according to the Tulip dye kit instructions. Typically, you just add water to the dye bottles up to the line marked, then shake until the dye is dissolved.
Choose and apply dye:
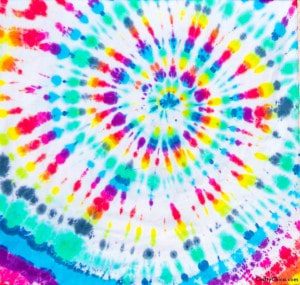
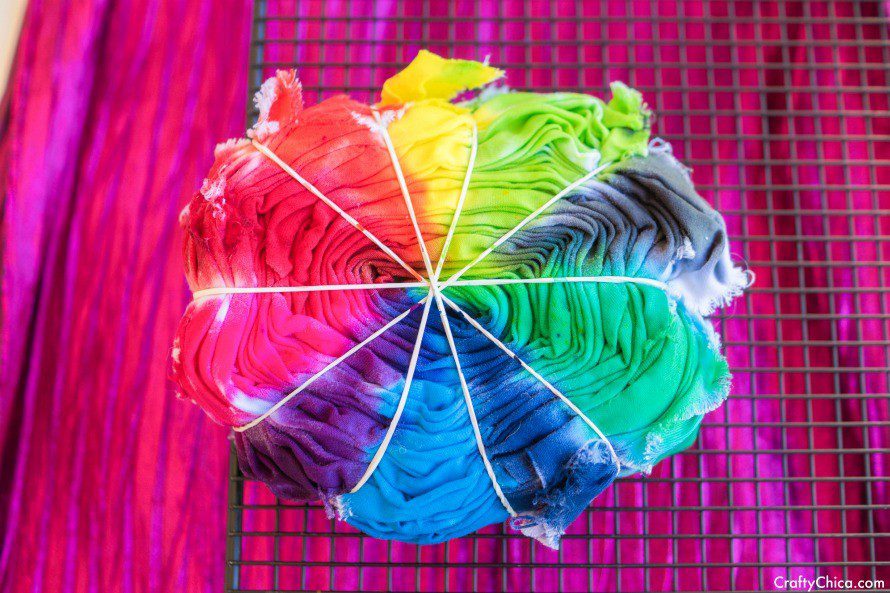
– Fold and bind your fabric using rubber bands or zip ties. The pattern depends on the folding technique (e.g., spiral, accordion, bullseye). Secure tightly with rubber bands for more defined patterns.
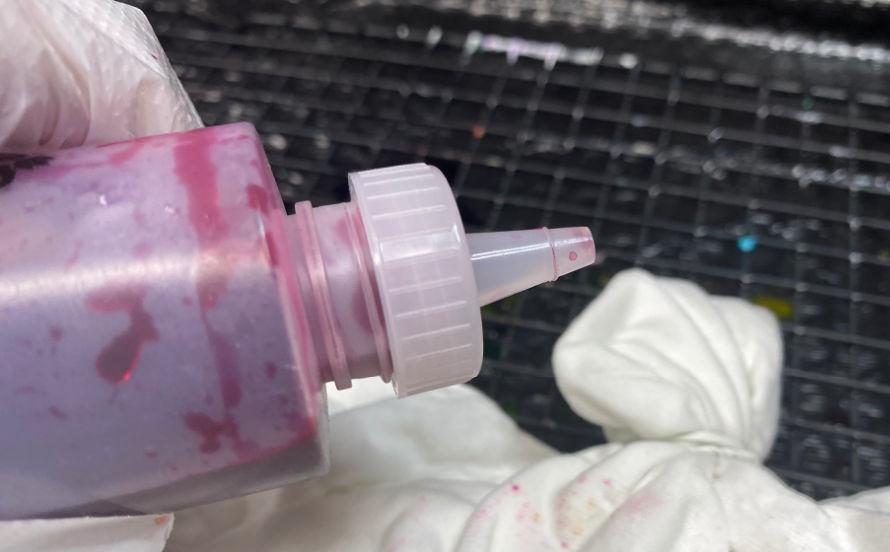
– Apply the dye** by squeezing the dye from the bottles onto the fabric. Be creative with your color choices and patterns. Make sure the dye penetrates the folds for vibrant results. For a more pastel shade, apply less dye.
– Cover the dyed fabric with plastic wrap (or a plastic bag) to keep it damp. This helps the dye to set properly.
Setting the Dye:
-Let the fabric sit, covered with the plastic. The longer it sits, the brighter the colors. It’s recommended to wait at least 6-8 hours, but leaving it for 24 hours can produce even more vibrant results.
-Rinse the fabric under cold water while it’s still bound by rubber bands. Continue rinsing while removing the rubber bands until the water runs clear.
-Wash the fabric in the washing machine with a small amount of detergent and cold water. Wash it separately or with like colors for the first few washes to avoid dye transfer.
-Dry your fabric. I prefer to hang dry, but you can air dry or use a dryer.
Essential tips:
– Pre-soak fabric in a mixture of water and soda ash (if not included in the kit) for about 20 minutes before dyeing. This helps the fabric absorb the dye better.
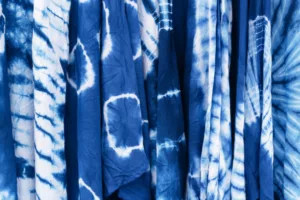
– Use 100% natural fibers like cotton, silk, or linen for best results. Synthetic fibers won’t absorb the dye as well.
– Experiment with different folding and binding techniques** to create various patterns.
– Apply dye to both sides of the fabric to ensure an even application.
– Wear gloves to avoid staining your hands.
Tie-dye is an experimental art form – it is sometimes hit or miss. But they best way to learn is to experiment! Don’t be afraid to try different techniques and color combinations. Each piece is unique, and part of the fun is seeing how your creations turn out.
Enjoy the process and wear your tie-dye with pride!