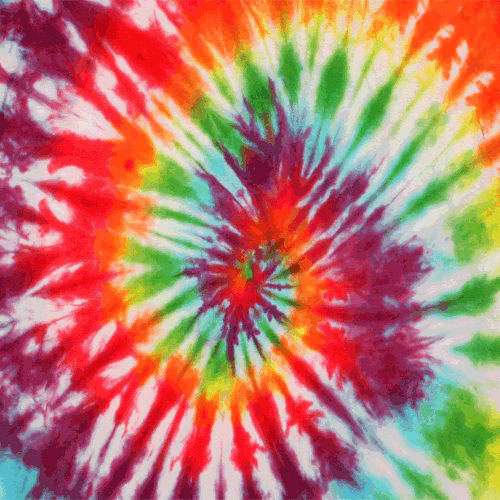
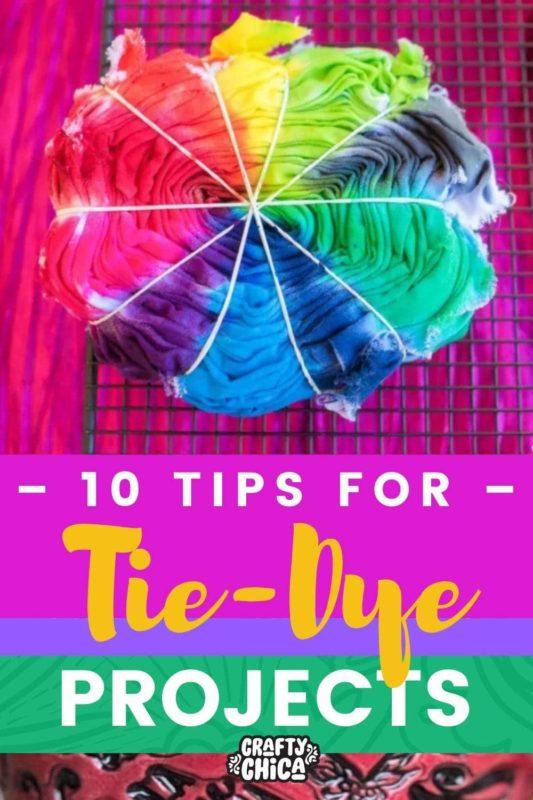
Let’s talk tie-dye tips!
Many of you have asked me questions about best results for tie-dying, so I thought I’d put together this list of tips for the perfect outcome! Actually, there are more than ten, I lost count!
I spent several years as a spokesperson for one of the best-selling tie-dye lines. I loved it because I learned so much about what works, and all different techniques to end up with beautiful results!
One thing I also learned was what not to do.
When a tie-dye project flops – it sucks. All that time and effort and then to open up the folded fabric to underwhelming results…it’ll make you want to give up.
RELATED: Tie-dye for beginners

But don’t! There are “best way” steps you can take to ensure you end up with an awesome outcome.
Here are my favorite tie-dye tips to help you along with way!
And check out my shopping list for all things tie-dye!
Best practices set up:
You’ll not only need a roomy work area to create your tie-dye, but also an area to set your project aside to cure. It takes six hours for the dye to set permanently.
I’ll start by lining my work area with a plastic tablecloth (or paper needing recycling – wrapping paper, newspaper, packing paper, etc), then create my project, cover it and then set it in the garage, on the table on the patio or even on top of the washer or dryer.
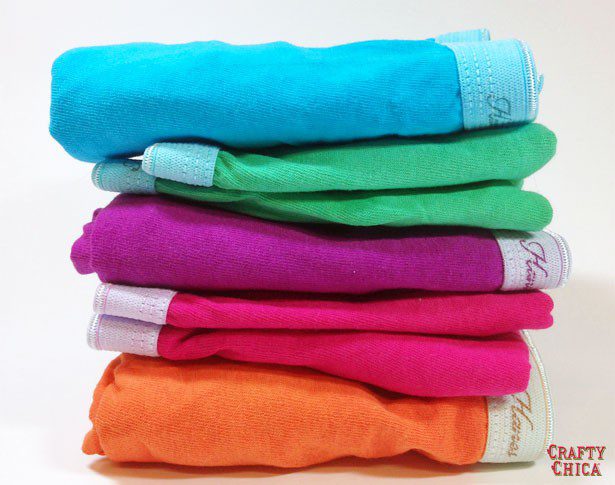
Choose your fabric. I have a full article here about best fabric for tie-dye. Generally you wan to stick with natural fabrics like cotton, linen, rayon, bamboo, or silk. Cotton shirts are the best for just starting out. They are plentiful and affordable!
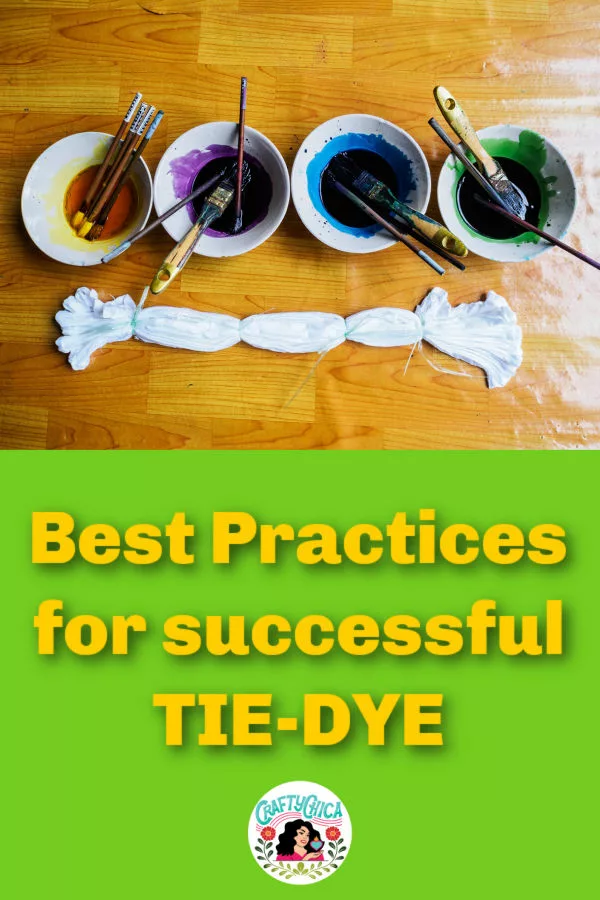
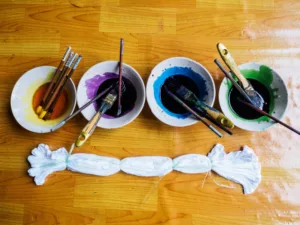
Beyond the basic supplies
There are many different methods to this. Aside from gloves and table coverings (you can use cut open large trash bags), your project will look better if you rest it on a raised cookie cooling tray or some sort of grid that you can elevate as you add the color. The excess dye will drip down and not pool up around your project. It prevents the dye from spreading where you don’t want.
Tongs work great for carefully picking up your project and turning it so you can color the backside.
Use squeeze bottles for your dye if you don’t already have them.
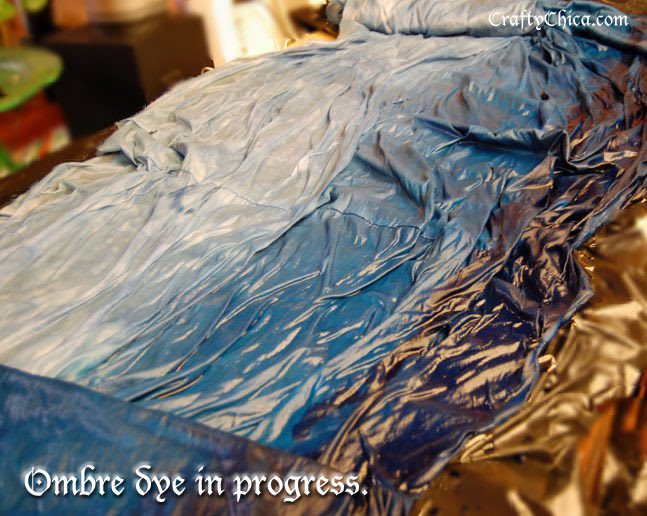
Damp vs. wet fabric
Did you know your project will have a completely different look depending on how wet your fabric is? If you want great results with sharp lines, keep your fabric dry. If you are working with heavy fabric, like bulky t-shirts, the dye likely won’t travel through as deep as if the fabric is wet. You’ll end up with a lot of white areas.
I usually start with damp fabric and I keep a spray bottle of water on hand to keep it moist as I add the color.
You don’t want it soaking wet because then the dye will spread too much and bleed where you don’t want it. It will also water down the colors – we want vibrant colors!!!
That leads to the best practice of…
Prewash your garments before tie-dyeing
This will remove the sizing and the stiffness of the shirt. If you try to dye the shirt without washing it first, the dye might roll right off!
Wash on the basic cycle, then remove, shake out and dye. It’s the perfect amount of dampness!
You can also dampen the fabric with a spray bottle.
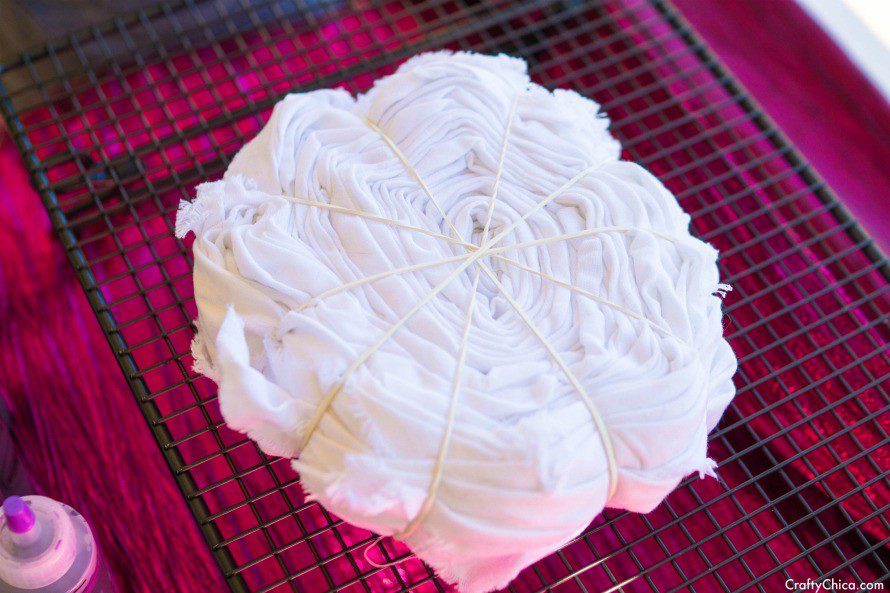
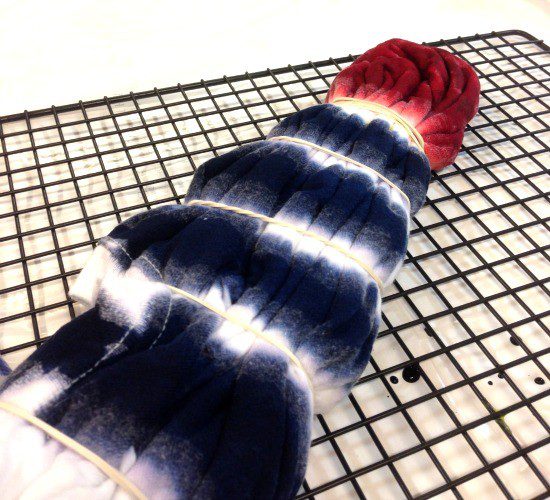
Rubber bands will do but zip ties are even better!
Every tie-dye kit will come with rubber bands, these are great for first-timers. But once you get rolling, you’ll want to upgrade to zip ties. You’ll get much cleaner lines and they are easier to attach and remove.
Other tie-dye techniques include folding fabric, wrapping it with string, even use clothespins.
Wear gloves
Use plastic gloves, rinse them (while wearing) as you work so prevent cross color contamination. And have an extra pair ready as back up! The dye will stain your skin. Also – wear protective clothing. The dye is permanent and won’t come out! At least wear an apron.
Spacing
Since your fabric will likely be wet/damp, the dye will spread. Keep this in mind as you add the color. Leave a little bit of spacing between each color. Not too much, but just enough, maybe a centimeter or so (the space of the rubber band is perfect). It also depends on the type of fabric. Fabric will spread faster and wider on a silk scarf as opposed to a canvas tote bag.
Practice, practice, practice!
Okay if you are tie-dyeing for the first time just for fun, you can skip this part. But if you really want to learn the craft and the different techniques, pick up a yard of 100% white cotton fabric. Cut it into 12×12” swatches so you can play with folding and arranging color.
This is also a good idea if you want to dye something big like sheets or a dress.
Seriously, once you practice, you’ll know what to do and what not to do for your big project!

![]()
Tips for dyeing fabric
Natural fabrics work best. Cotton, rayon, hemp, linen, silk, wool. Always read the tags, look for 90% cotton. I stay away from 50/50 blends because the colors do not come out as bright.
Tie-dye will not work on polyester, lycra, spandex, etc. I learned this the hard way in my early days!
My faves: Silk, rayon, lightweight cotton. They come out so crisp and bright!
Tie-dye process is more than just squirting! Try applying the dye design with a brush, bubbles, dipping, so many ideas!
Check out my tie-dye shopping list here.
Fancy folding
Whether you are making a swirl, an accordion fold or crumpling, do you best to make clean folds. This will prevent large blobs of color. The beauty of tie-dye is the effects from folding, so take time to make sure your creases are sharp and even.
The easiest tie dye patterns are ones with crisp folds. Fold up a damp shirt and use rubber bands or clamps to keep it tight and solid.
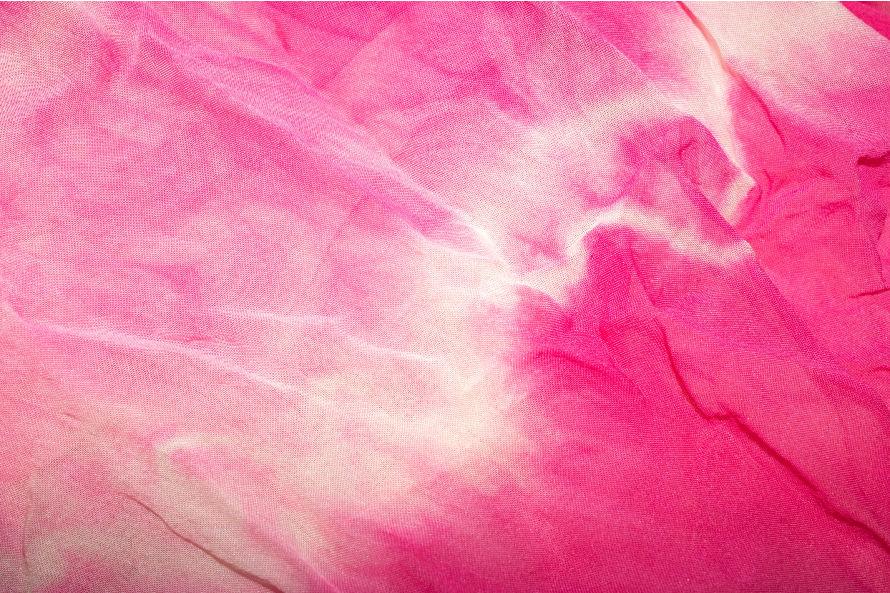
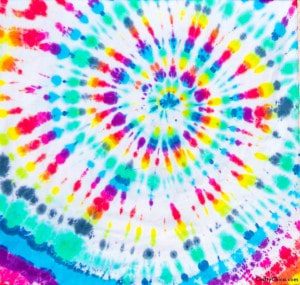
Know the color wheel
Keep like colors together, so if they bleed it will create a beautiful new shade! Here is a link to a guide to help you! https://decoart.com/blog/article/318/color_theory_basics_the_color_wheel
Red and yellow together make a vibrant orange.
Yellow and a touch of teal will make green.
Pink and purple will make a pretty fuchsia.
Cover your garment as the dye sets
This is because the heat will help the dye set faster and stronger. It doesn’t have to be super tight, just loosely place a cover over the whole thing. It also prevents debris from contaminating your hard work! Use a plastic cover, a trash bag, keep it loose.
How long to leave tie dye shirts in bag
If you are using a powdered dye that you mix with water, the package directions will tell you to put the dyed piece in a bag. This is to allow for ultimate dye concentration, and usually that takes about six hours to fully activate. After six hours, it stops.
You can cover with a plastic bag or even insert the item into a bag.
I usually leave it overnight and then rinse it all out in the morning.
Rinse and wash
This is really important. for the first wash – put on your gloves and take your project to the sink after it has set for at least six hours. Before removing the ties/bands, rinse with lukewarm or cool water – not hot. Way less messy this way!
Then remove the ties/bands, open your garment and rinse until the water runs clear.
Place in the washing machine along with a piece of old clothes. This will help absorb the excess dye. Run through the washing machine on cold water, hang dry.
Wash separately from other clothing items the first couple washes, just to make sure it doesn’t bleed. Hang dry at room temperature for best results and to keep the bright colors.
Clean up!
Wipe away any spots on the table, etc. The dye will reconstitute and spread!
Use vinegar and baking soda to remove any excess dye from the table.
Enjoy your new tie-dye project!
Whether you tried specific patterns or used easy steps to add one color – hopefully you ended up with the best items ever!
I hope these 10 tie-dye tips help you. Tie-dye is super fun and it doesn’t have to be messy, it’s such a great summer activity for all ages and skill levels.
More tie-dye tips and ideas!
Start with black and white cotton fabric, adding color will make it more interesting!
Don’t want rainbow? Use one color.
Visit thrift shops or second-hand stores for cotton slips and blouses to dye.
Dye silk scarves, socks, table cloths, curtains, shoes or pillowcases for something different!
Try natural items for dye, like avocado pits, blueberries, tea or coffee grounds.
Check out my other tie-dye posts here!

I hope this post about tips for dyeing fabric and other tie-dye tips helped out!


love em all. A Frieda T’shirt design would be awesome….
I’m surprised you didn’t come out with a tshirt about sparkle .
Thank you for sharing the know-how! <3
Looking for direction… kids did tie dye at friends and directions didn’t exactly make it home, and this mom has never tie dyed….SO…
What do you do when you remove the rubber bands and hang-up the shirts without the rinse
?!?!
I hung them up outside to dry.
What do I do to preserve the beautiful designs? Or will they all bleed together and we start over?
Thank you!
Hi! No worries, the dye has already set. Go ahead and rinse them in the sink in cold water, then wash in the machine in cold water and hang dry. You should be good to go!
What kind of dye is best for brightest colors?
Hi! Any high quality dye will do, but make sure the shirt is a natural fiber, and pre-wash to remove the sizing. And make sure the shirt is only slightly damp. Hope this helps! Thanks!
I’m leading a group tie-dye session and I’m wondering if I need to wash each shirt individually in the washing machine after they are finished. And if so, would a shorter cycle work or does it need to be a full cycle? Thanks!
Hi Molly! No, the dye stops activating after six hours. As long as you rinse them all in the sink under cold water until it runs clear, then you can wash them together in the washing machine. Hope this helps!
Hello, I am dying 500gram rolls of jute twine but even after leaving to soak for 24hours it hasn’t gone all the way through. After a couple of layers the normal colour is there. Should I leave it to soak longer.
Thank you.
Hi! Make sure to first soak the jute before adding the dye, that will help it absorb and spread. Let me know if this works!
How can I tie dye navy blue and yellow without making anything on the shirt turn green
Hey there!! So I am really enjoying becoming more crafty. I just am in the process of tie-dyeing a canvas bag (made for being dyed). And a t-shirt! I was wondering would it be possible to put some water repellent or weather proofing spray on my bag to not only lock in color but repel water ?? Please let me know.
I started here for the do’s and don’ts. I wanted grandkids to tie dye shirts today. We don’t have the time to do it so it will be another day just devoted to this fun craft. Thanks for sharing your knowledge and easing my fears about it.
What brand dye do you recommend for beginners?
Hi! Here is a post about that! https://craftychica.com/2024/02/tie-dye-for-beginners/
Hello! I used a kit that said to let the shirt dry completely afterwards but now I’m reading that I should’ve rinsed it first, UGH!! Do I rinse it now? Will it be ruined?
Hi! After you dye the shirt, let it set for six hours in a plastic bag. Then rinse inthe sink until the water runs clear, then wash in the machine (no soap) and hang dry. This is for the Tulip kits…hope that helps!