

This has to be one of my all-time favorite Bernzomatic posts! I used a micro torch to make these amazing lead-free solder wire stamped hearts! The texture and depth of the design is fabulous. I actually featured the process on Snapchat and had several people respond with OMG I WANT TO DO THAT! Remember when I made these torched and stamped pendants? This is the same concept except I used the Bernzomatic solder wire as my base. It worked beautifully!
Here’s the video tutorial I made, but I have picture step outs as well!

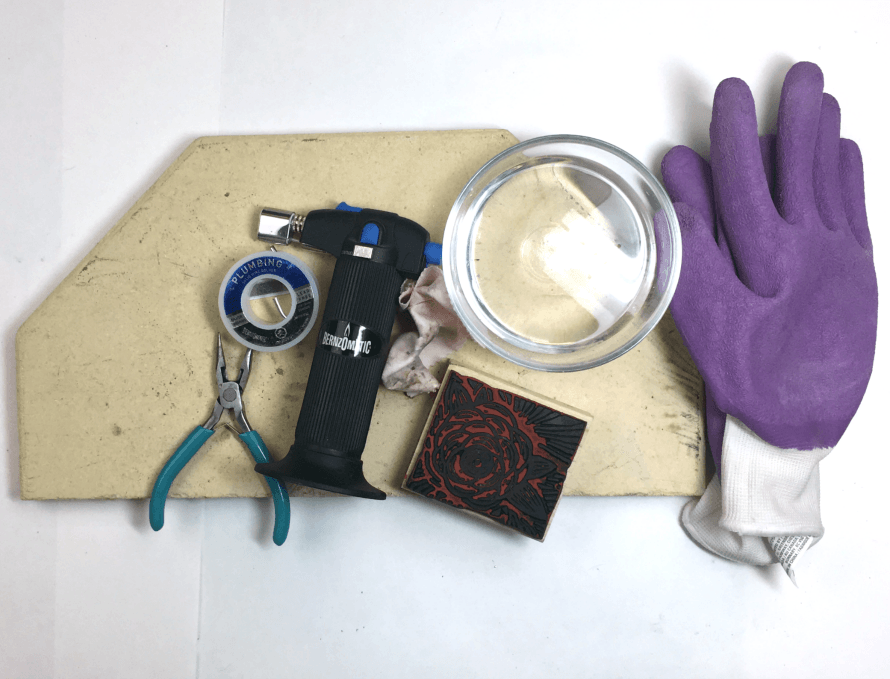
SUPPLIES
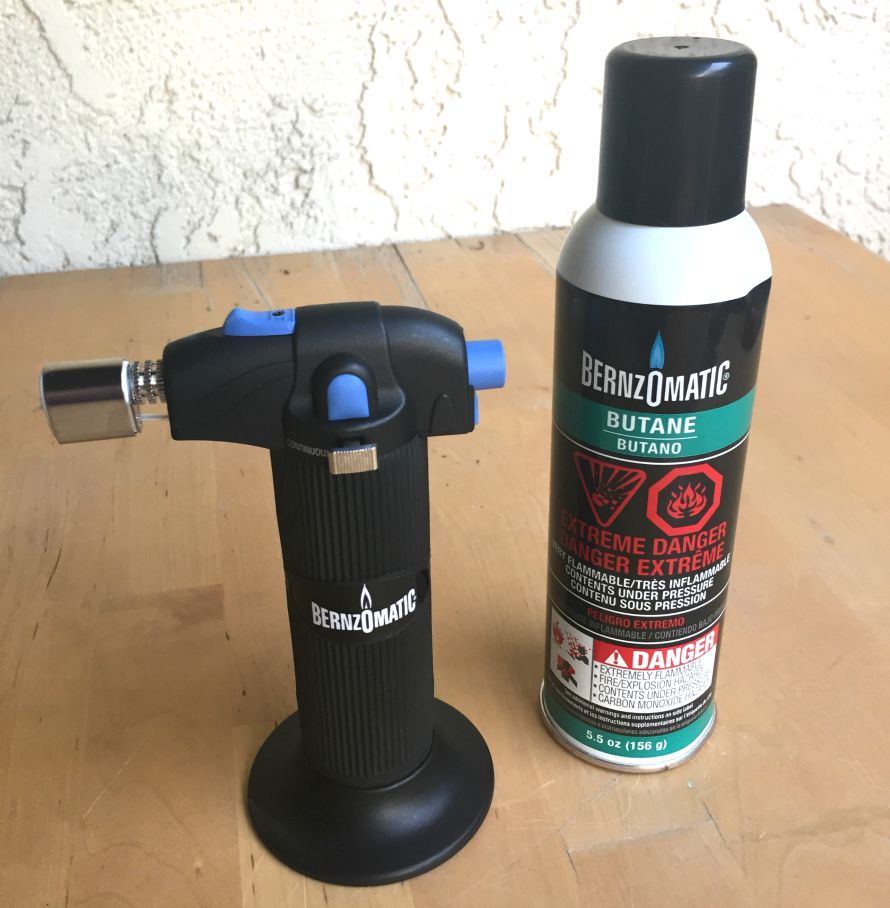
A jewelry torch: I used the Bernz-O-Matic ST2200T Micro Flame Butane Torch Kit![]()
BernzOmatic SSW300 3 oz. Lead Free, General Purpose/Plumbing Solder![]()
Amaco 28035N Insulating Firebrick, 9″ x 4-1/2″ x 2-1/2″ Size![]()
OR 12×12 ceramic tile
Decorative rubber stamps (attached to wood block, not cling stamp!)
Bowl of water
Tweezers
Most important: GLOVES & GOGGLES
Small rag
Sharpie marker or black craft paint
Also – the adorable rose-trimmed pewter charm is from ImpressArt.com, you can find it here!
Let’s get started!
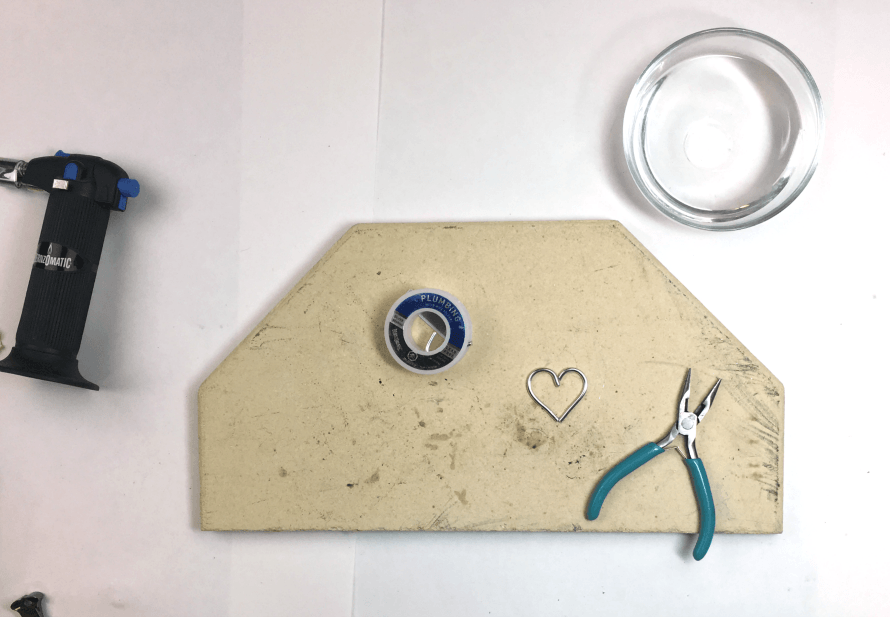
Cut two pieces of the solder wire into equal lengths and use the pliers to form each one into the half of a heart. Place them on your tile or fire brick. I’m using an extra kiln shelf that I have. Prepare a small bowl of water and set it to the side. Put on the gloves and goggles. Read the directions on the torch packaging to ignite the flame. Basically you will move the flame length button the center, then flip the safety lock and press the tool on. You’ll hear a loud hiss, that means the it’s on, if you only hear a soft hiss, you need to restart again because that means the flame didn’t ignite, it’s just burning propane.
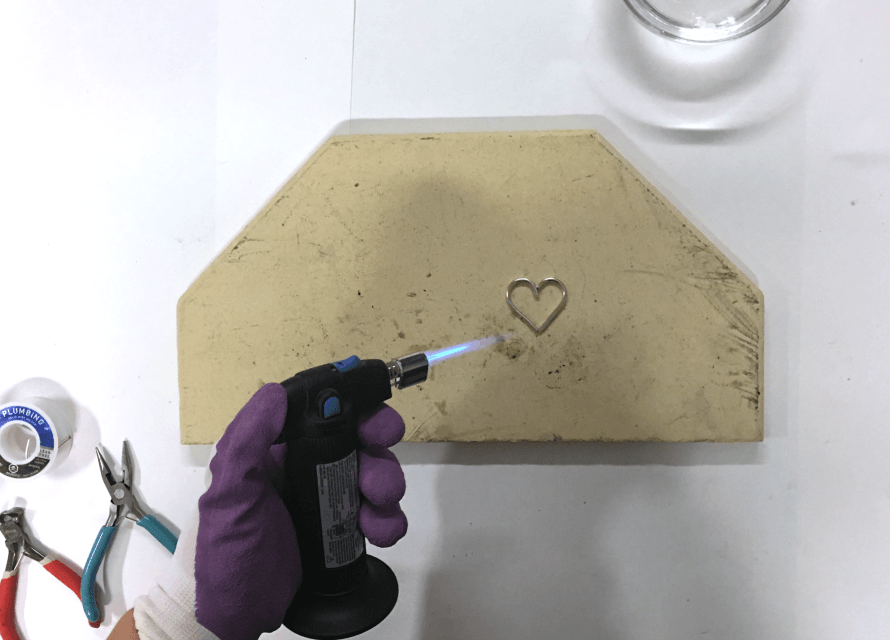
Move the torch evenly across the heart, about 6-8 inches away. Keep going over it evenly until you see the wire bubble up.

Remove your finger from the torch so it turns off and quickly place the stamp on top of the heart. You have to work really fast and press hard and evenly. It may take a couple times of practice.
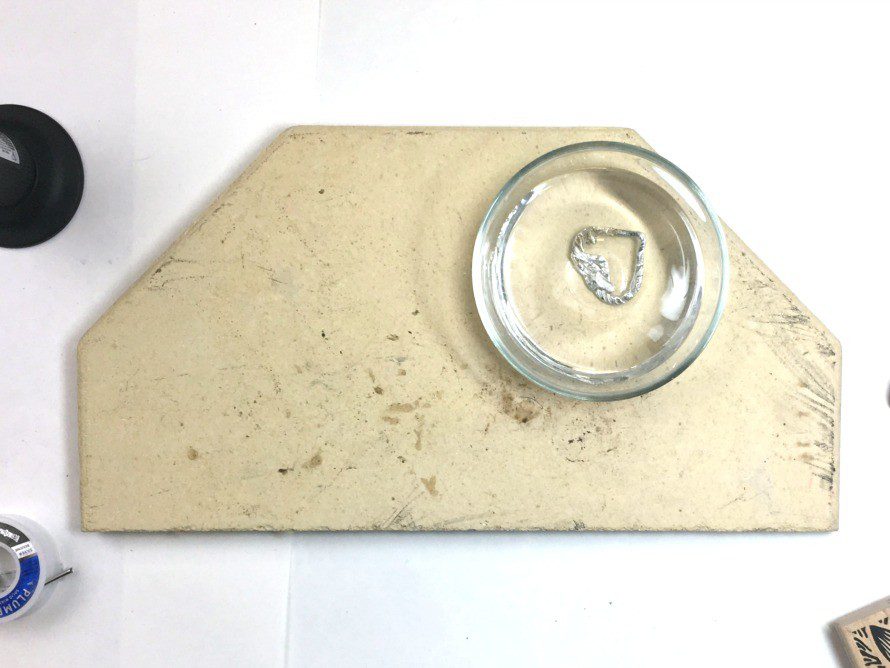
Remove the stamp and use your tweezers to pick up the heart and quench it in the bowl of water. Remove and let dry, then rub with a polishing cloth to remove any burnt residue.
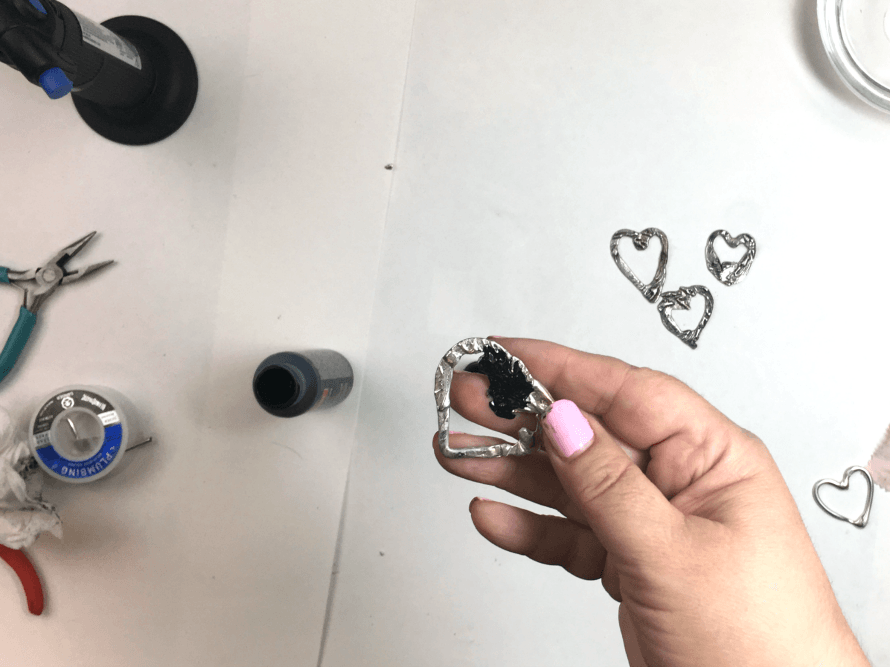
Coat with black paint and wipe off, so the paint settles in the stamped grooves.

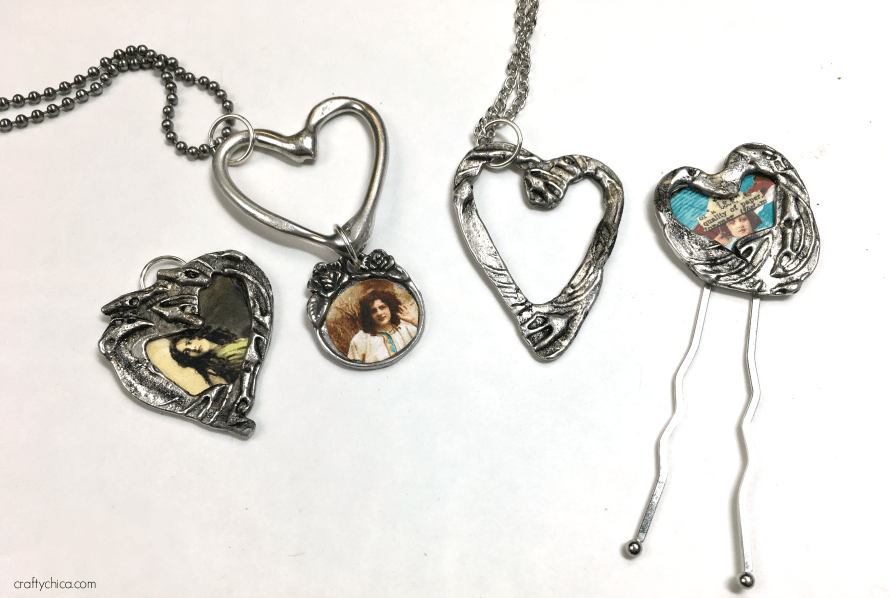
You’ll end up with something like this! Isn’t it cool looking? For this one on the right, I didn’t stamp it, I just melted the pieces, it still looks nice.
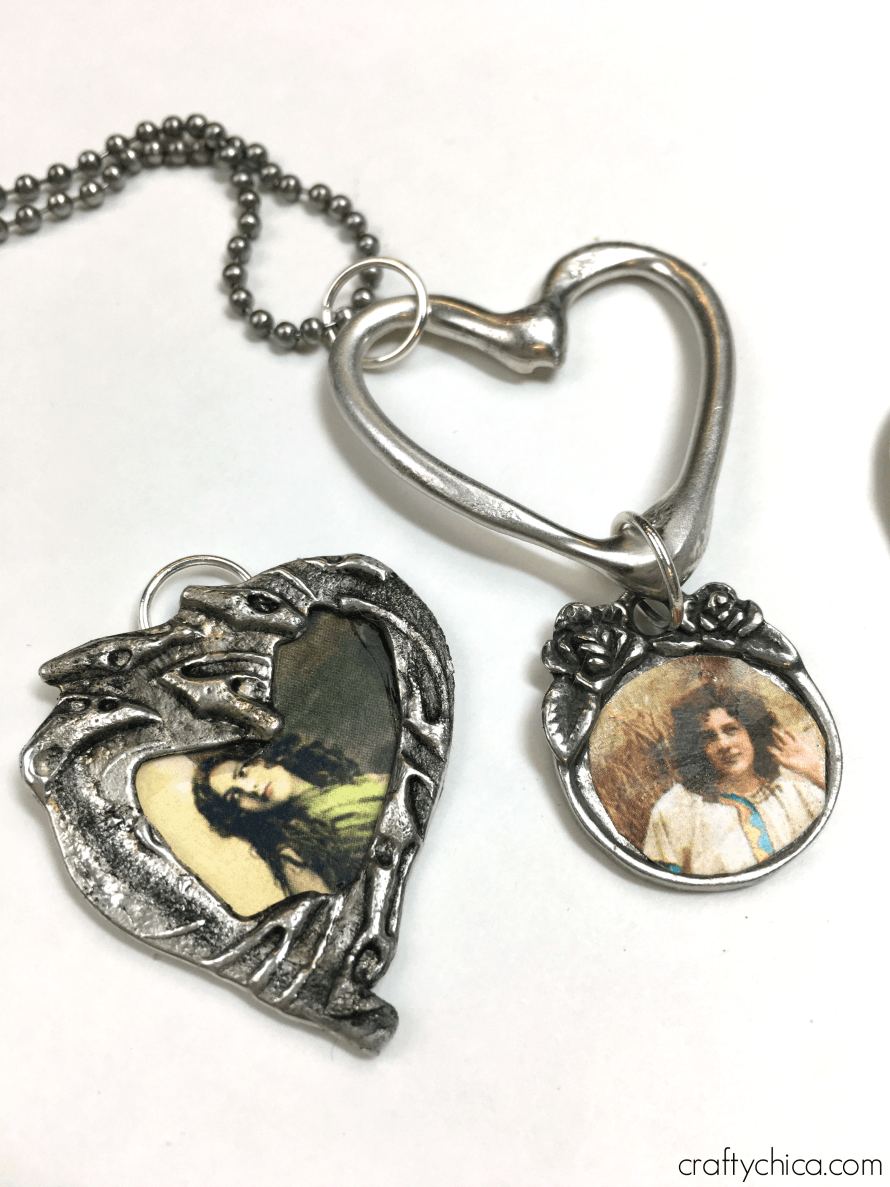
For the open hearts, I glued little pictures behind them, and glued a jump ring.

I LOVE this torch!
![]()
“Find Your Fire. There’s a fire in each of us. Waiting to ignite. We believe in carrying the torch ignited by our founder in 1876—whose quality craftsmanship and progressive mindset are what blazed the trail that got us here today. We believe in awakening the innovators in all of us—inspiring a culture of creators who can break boundaries, mark new territory and go where no flame has burned before. We believe in empowering those who’ve found their flame and dare to follow it. Because the ones who do are the catalysts of bold transformations that redefine the limits of what we can achieve. We believe in our fire and in your fire. It’s time to ignite.”
- Facebook: www.facebook.com/Bernzomatic1876
- Twitter:@Bernzomatic
- Instagram:@Bernzomatic1876


