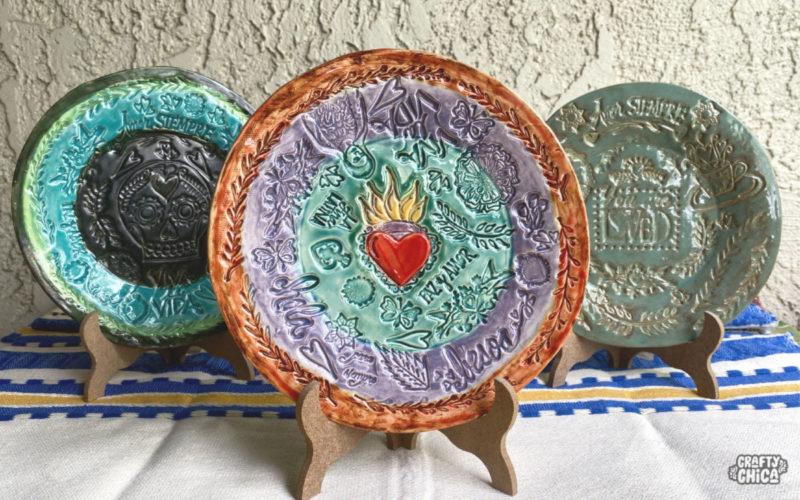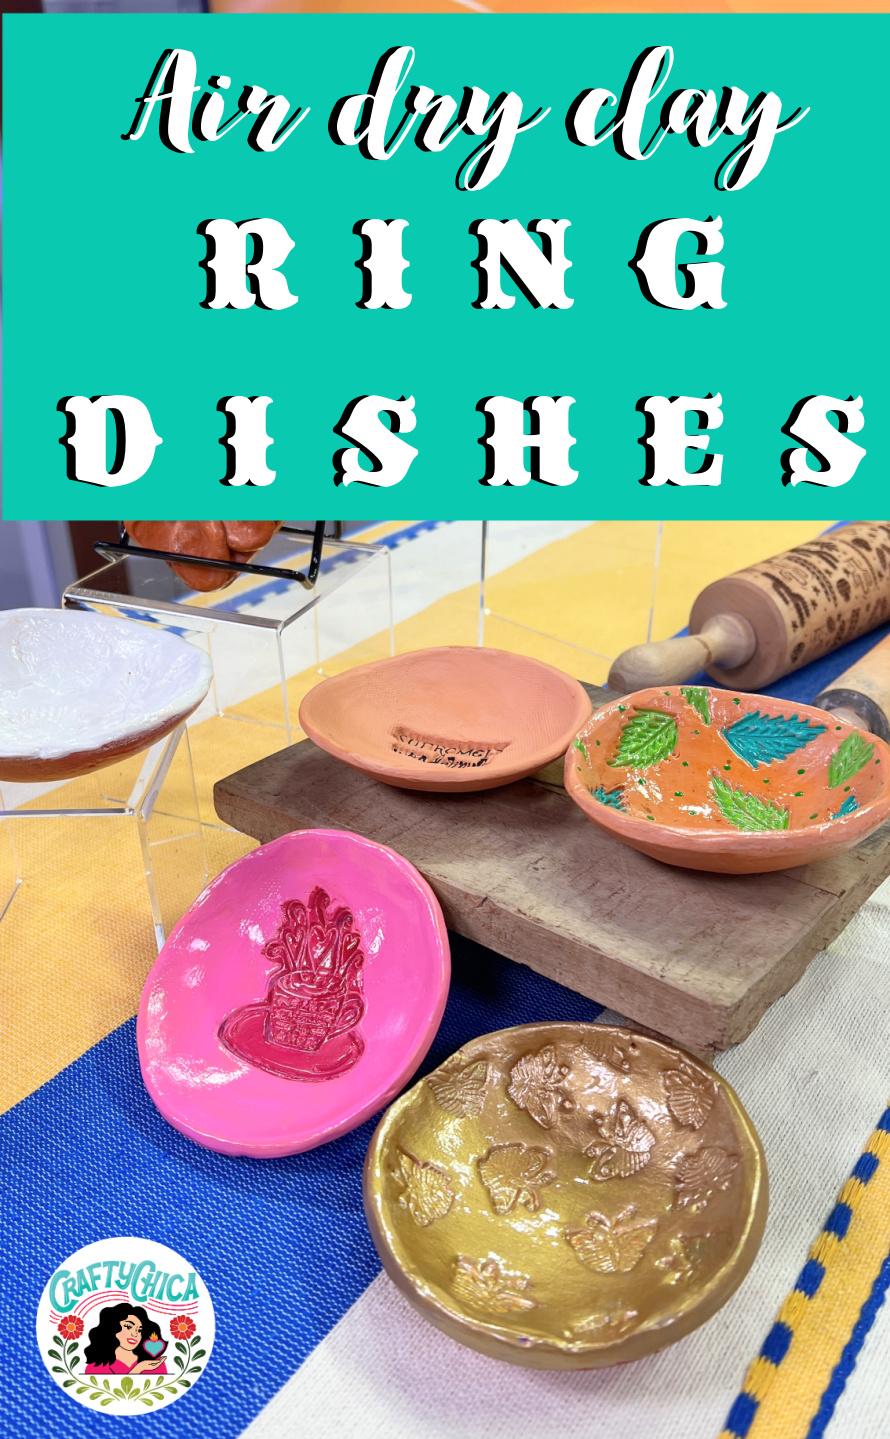
Check out this air dry clay DIY ring dishes tutorial! It’s a perfect weekend project because a little goes a long way, they are easy to make and you can get really creative.
My inspiration is from when folks ask me about my ceramics, but they don’t have a kiln. Polymer clay is nice for jewelry or smaller items, but can become expensive for larger projects like this.
Types of air dry clay
I use the Crayola brand – it comes in white or terra cotta. It’s my favorite because it is affordable and gets the job done. They have white and terra cotta. Terra cotta is what I always buy because it really does look like terra cotta when its dry, . However, it is super messy, so have some baby wipes or wet paper towels near by!
There are other brands like Scuplt It, DAS, and a few others, but they are a bit pricier.
For most air dry clays, it takes about 48 hours for a full cure. Here in Arizona, it is a little faster.
Supplies for air dry clay ring dishes
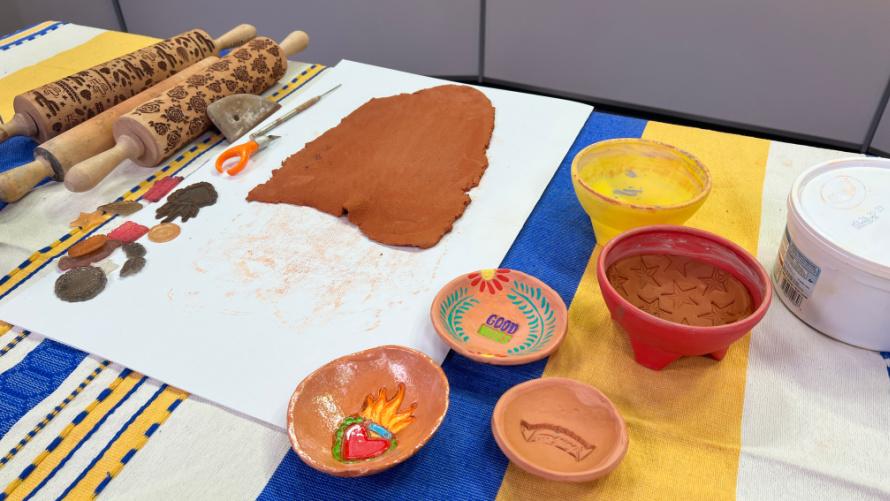
Air dry clay
Craft knife
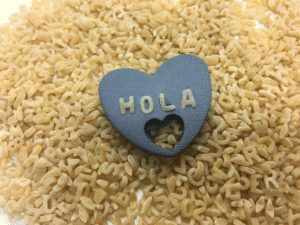
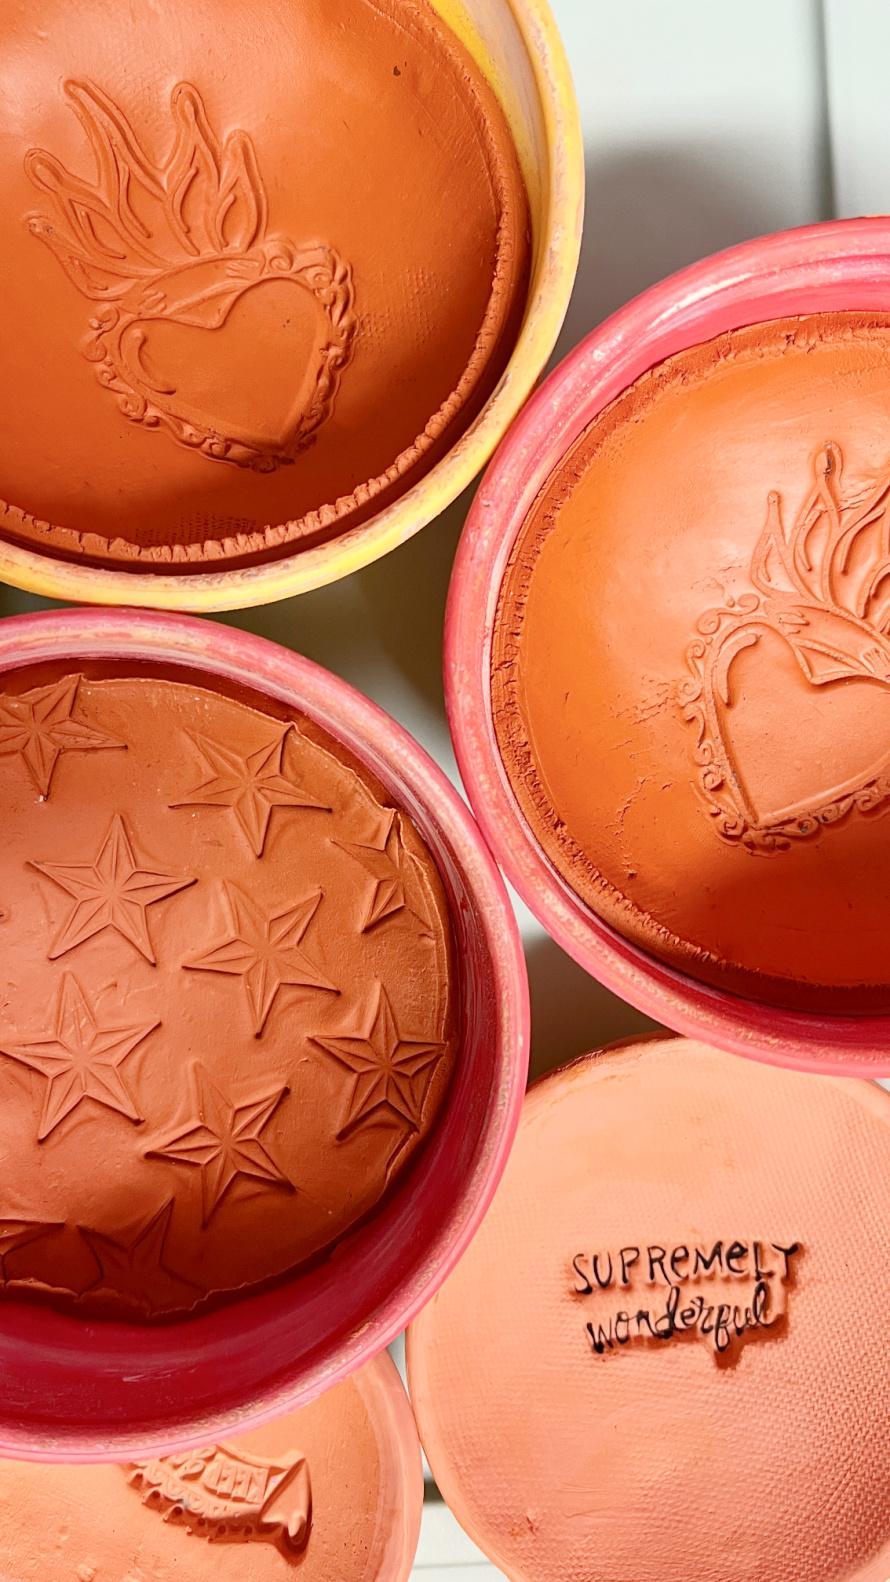
Something to stamp into the dishes (stamp, leaves, fingerprints, etc)
Craft paint
Water-based brush-on varnish
Spray varnish (optional)
Rolling pin
Two wood rulers
Directions for air dry clay ring dishes
Line your work area with poster board, make sure there are no bumps underneath or it will show up on your project.
Remove 1/4 of clay from the bucket and form it into a smooth ball between your hands.
Set it down on the table and place a ruler on each side.
Why you need rulers!
The wood rulers will ensure it has even thickness. This will help your finished ring dish look polished and professional. Don’t have wood rulers? You can also use very thin books or anything that is no thicker than 1/4″. even stacks of paper.
Use the rolling pin to rollout the clay.
To make it smooth you can place apiece of printer paper on top of the clay and rub your hands over it. This will remove any wrinkles or creases.
Bring on the salsa bowl!
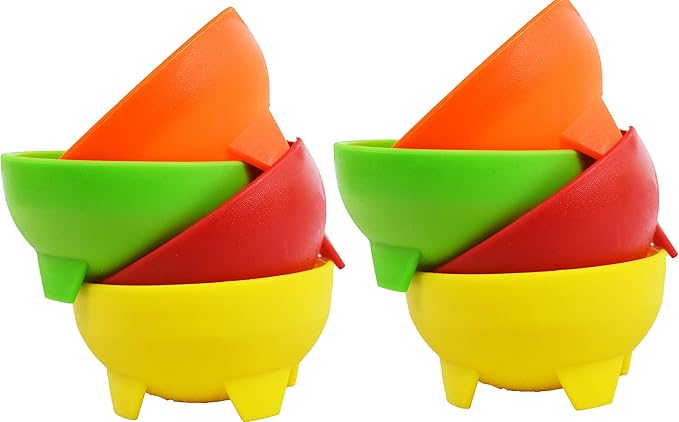
These bowls are the BEST for crafting. I do all kinds of things with them, like make salsa bowl pin cushions!
But for these air dry clay ring dishes, we’ll use them as the template and mold.
They work because they are the perfect shape and porous, they allow the clay to dry evenly inside. My collection includes at least a dozen, that way I can make these dishes in bulk.
Cut the clay
Place the bowl face down over the clay and use a craft knife to cut around it.
Remove the excess.
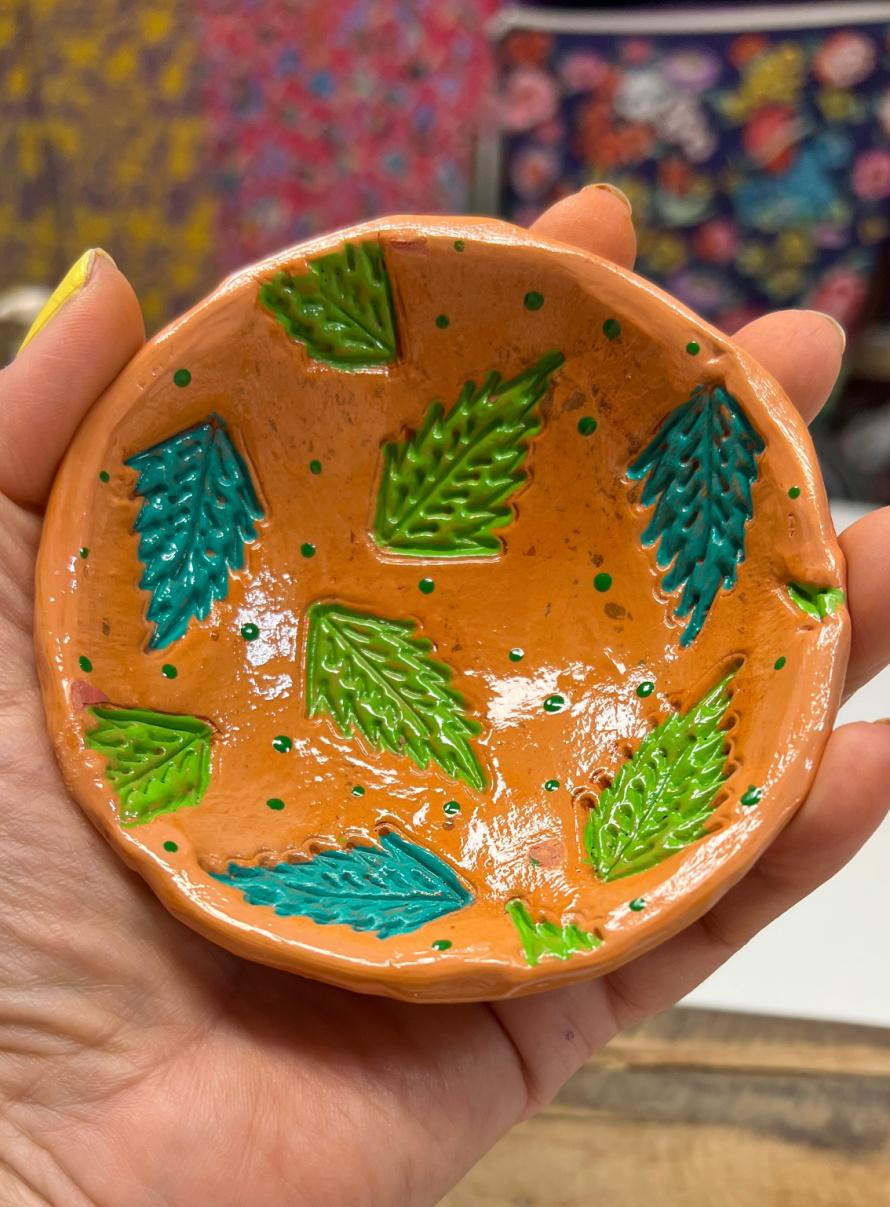
Choose what you want to stamp into the clay. If it is a cling stamp, set in on the clay and glide the rolling pin over the stamp for an even impression into the clay.
Carefully lift the stamp from the corner and lift it away.
Make the ring dish
Carefully pick up the clay you just cut and stamped and set it inside the salsa bowl. Try to center it, and then lightly drop the bowl on the tabletop repeatedly so the clay drops evenly into the salsa bowl.
Let it dry overnight and then the next day, hold your hand over the opening of the sals bowl and turn it upside down, the air dry clay ring dish should easily fall into your hand.
Clean up your air dry clay ring dish
At this stage, your ring dish will be halfway dry. Use the craft knife to scrap away any uneven edges. You can also dip your finger in water and smooth out the edges. The rim of the ring dish will have sharply cut edges, so you can round them out using the above methods.
Don’t forget to also smooth out the bottom of your air dry clay ring dish.
Let dry for another 24 hours. You’ll know it’s dry because the color will be a light tan.
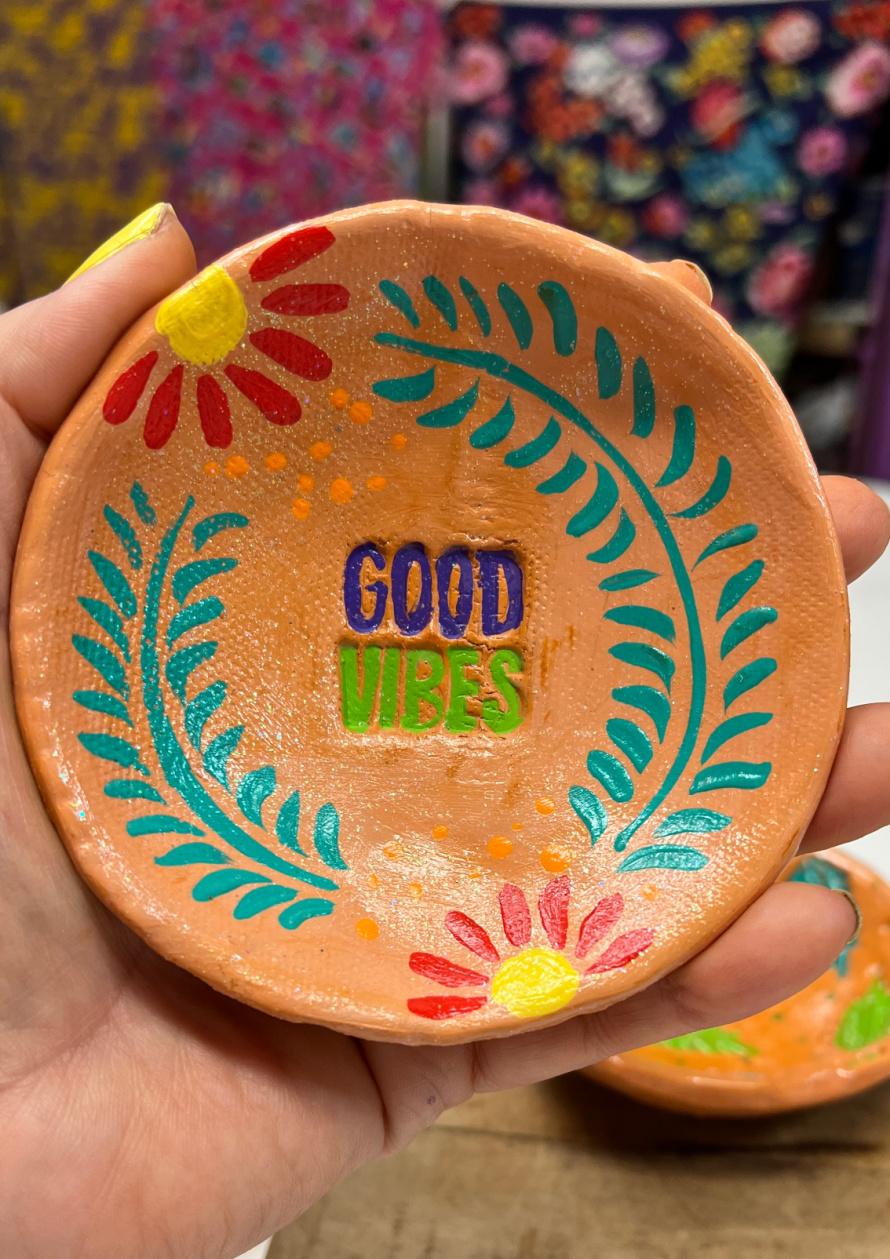
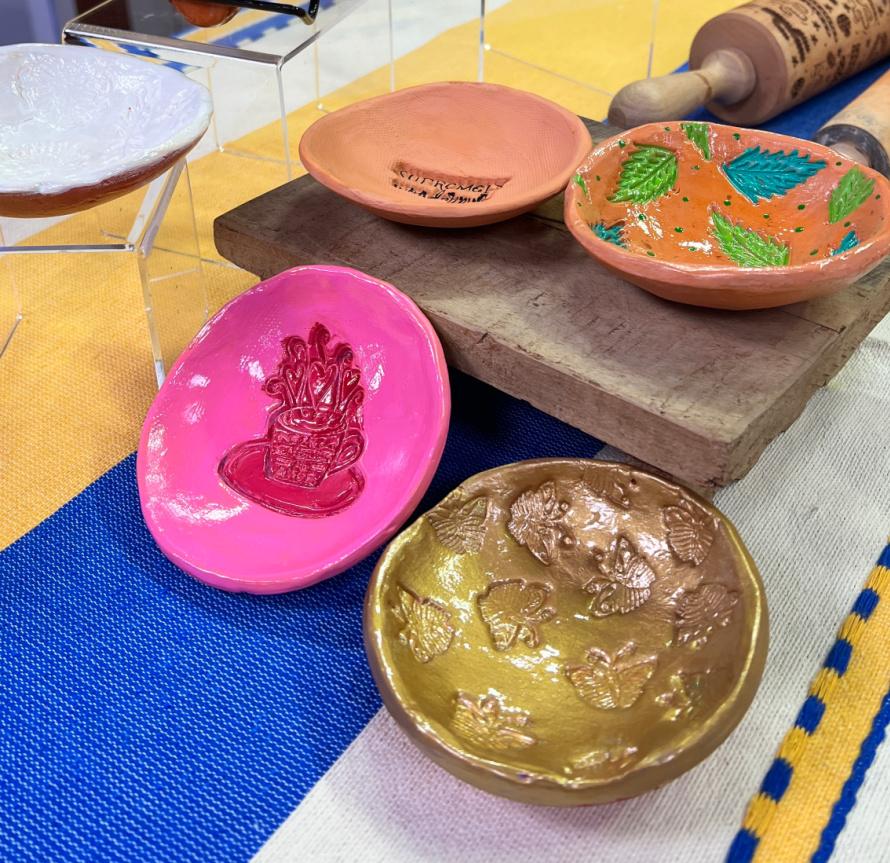
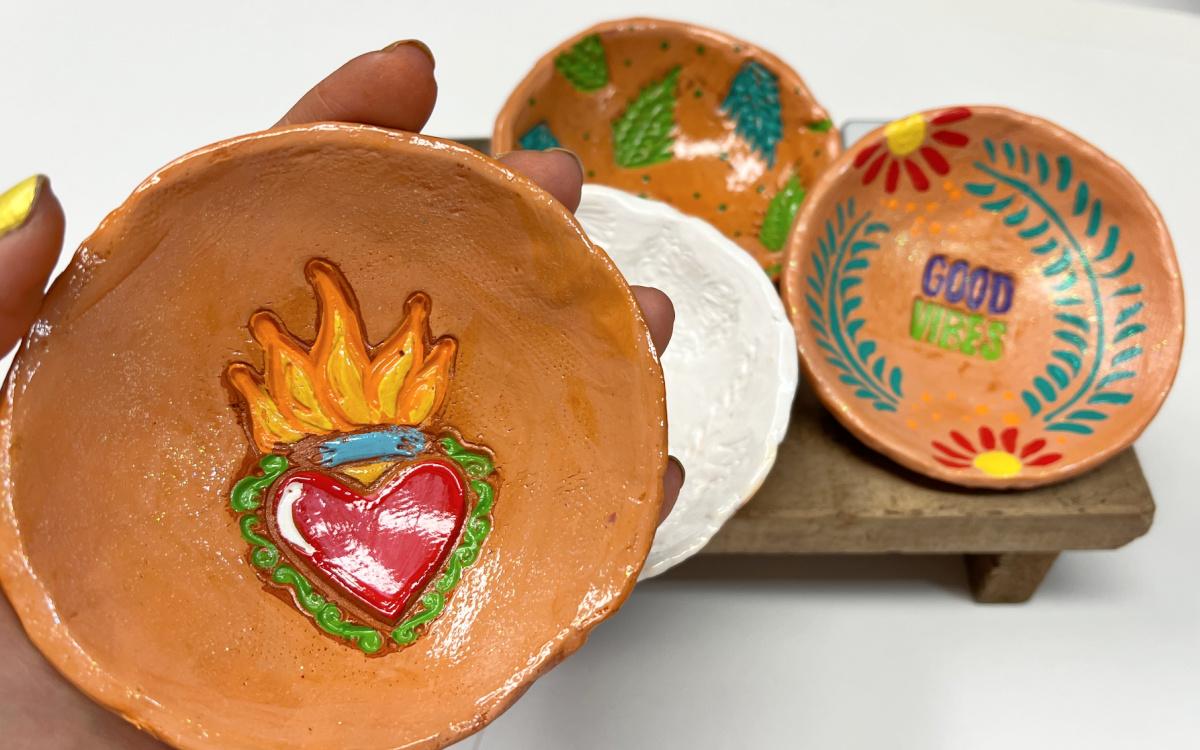
Decorate and glaze
Use craft paints to add accents to your ring dish. Let dry and then add a coat of water-based varnish, like Mod Podge. I like to use the sparkle version.
As a final step, you can add a high gloss spray varnish. Let your pieces dry fully before using them.
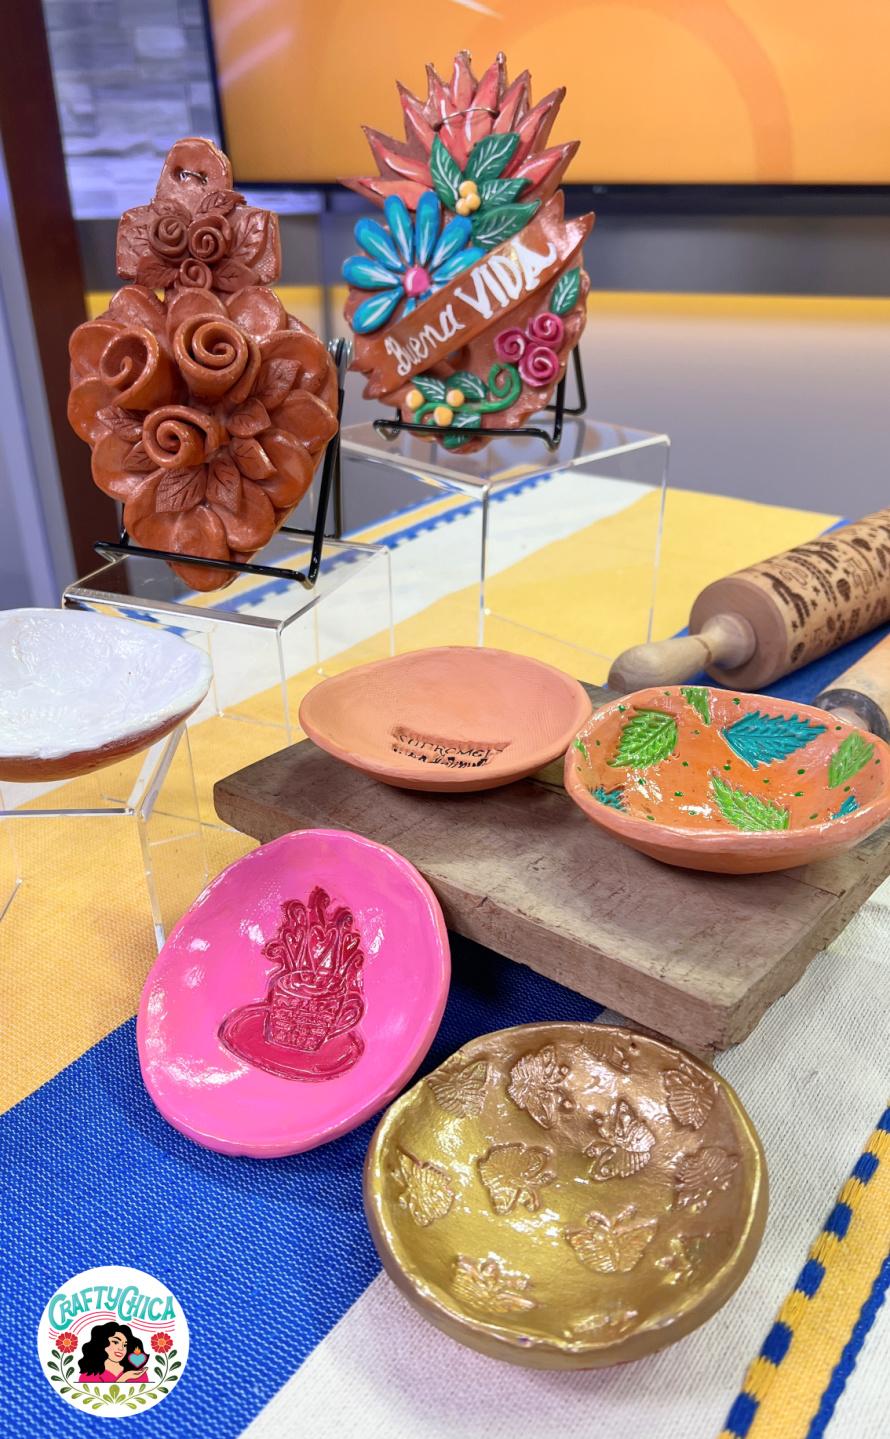
Didn’t these air dry clay ring dishes come out so cool? Imagine what you can make with them?
Air dry clay ring dishes ideas
Party favors
Branded gifts for your business
Teacher gifts
Holiday versions of these!
They can hold wrapped candies, jewelry, potpourri, change and more!
If you like this project, check out my other post on how to make air dry clay wall pockets! And air dry clay holiday ornmanets!