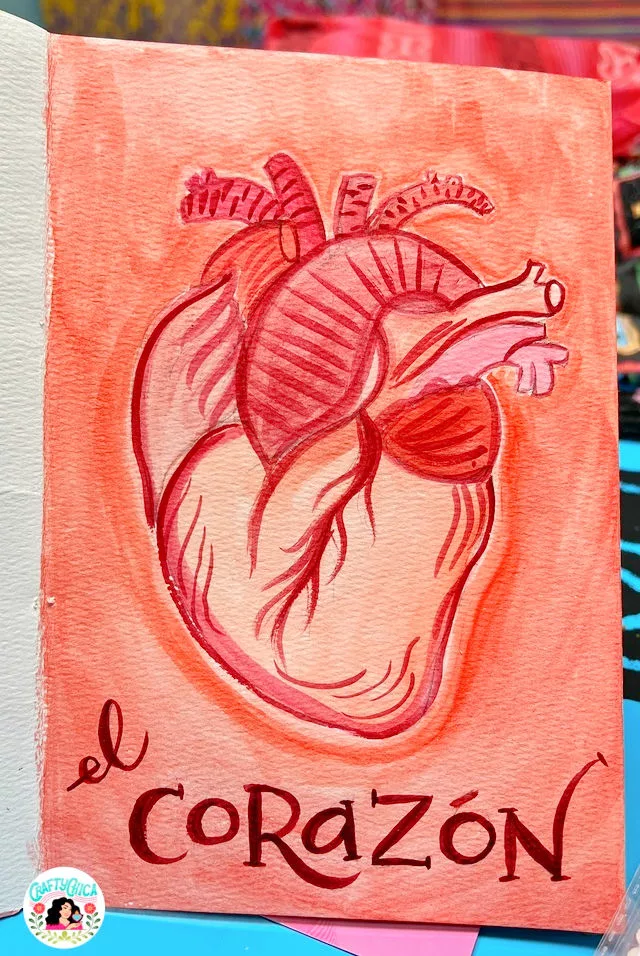
Here are some simple and creative watercolor practice ideas for you try. My inspiration is from a recent art retreat I attended in San Miguel de Allende. My friends Yoli and Rose co-hosted a seven-day affair of food, art, shopping and eating! We had the hotel conference room on lockdown for the week. One of the art sessions Yoli led was all about watercolor. Such a great way to dive deeper into one of my favorite art genres!

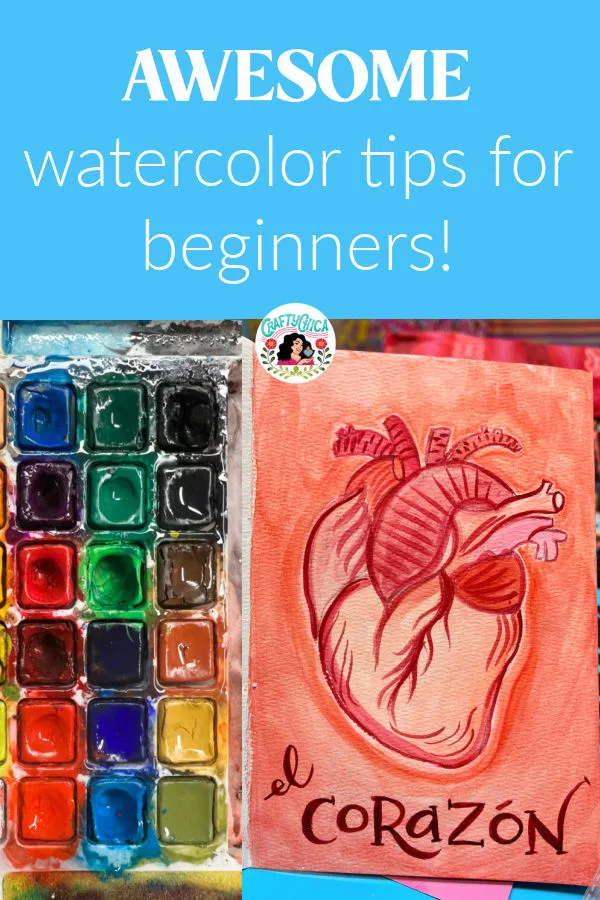
I’ve used watercolor for years, but I’m self-taught so I knew I needed to learn more techniques and build my skills. That is exactly what happened. I had such a blast, I thought I’d share all I learned here with you. The inspo was so strong, I researched a bunch of other ideas.
From still life to portraits, I’m so ready to level up my skills with these watercolor practice ideas!
First, lets talk supplies for these easy watercolor painting ideas:
Gather Your Supplies:
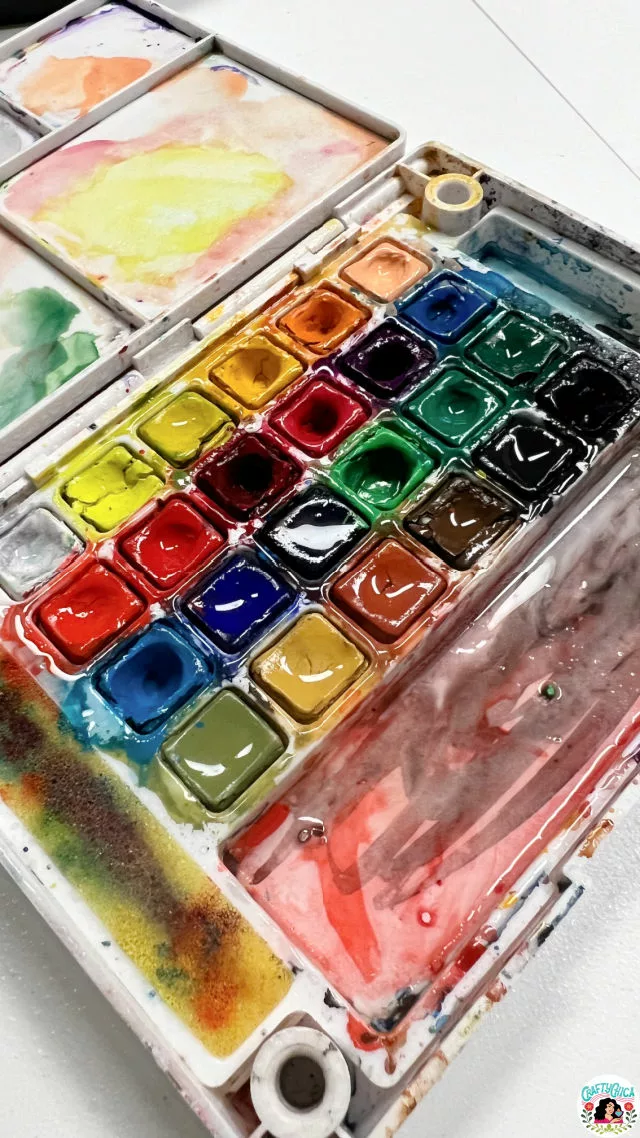
- Watercolor Paints: You can choose from tubes or pans. As a beginner, it might be more cost-effective to start with a basic set of 12 colors from a reputable brand. I use this small watercolor set by Koi. I’ve had it for years, you can see all my favorite colors. It’s time for a new one!
- Brushes: Get a few good quality brushes of different sizes. A large flat brush (for washes) and a medium-sized round brush (for detail work) are a good start. My fave? A water brush pen. This is a plastic brush that holds water, great for travel.
- Watercolor Paper: This is thicker and more absorbent than regular paper. You’ll want to choose a paper that is at least 140lb (300gsm) to avoid warping. I like using these sheets, they are easy to travel with.
- Palette: This is for mixing your paints. Some watercolor sets come with built-in palettes.
- Water Container: You’ll need this to clean your brushes. Check out this collapsable water cup!
- Paper Towel or Cloth: This is for blotting your brush or lifting off paint from your paper.
- Spray bottle/mister: To dampen your watercolor set. Make it juicy and ready for action.
- Pencil and eraser. I like to sketch out my designs first. I go over the pencil lines with paint and you can’t even see them!
Basic Techniques:
- Flat Wash: This is a technique where you create a smooth, even layer of color.
- Graded Wash: Similar to a flat wash, but the color gradually transitions from dark to light.
- Wet on Dry: This involves painting onto a dry surface.
- Wet on Wet: This is painting onto a wet surface for a diffused effect.
- Dry Brush: This is painting with a brush that is almost dry for a textured effect.
TIP: One thing I learned was to start with a lighter color and add darker highlights. It is the opposite of acrylic paints. If you start with a dark watercolor base, you’ll have a lot of troublemaking it light. This concept changed the game for me and I figured out why my pieces always looked so flat!
Basic tips for simple watercolor painting ideas:
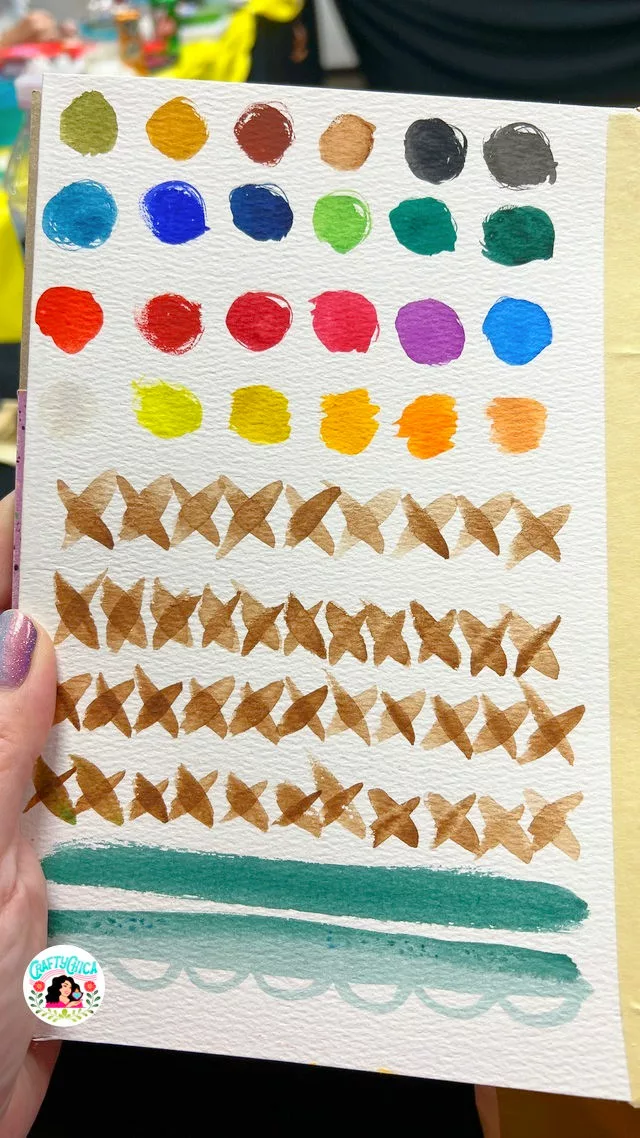
Start painting: Start with simple exercises, such as painting basic shapes or gradients. Paint a large area to see how the colors dry. Practice blending different colors on your palette and on the paper. Yoli had us create a swatch library of the different colors on our palette.
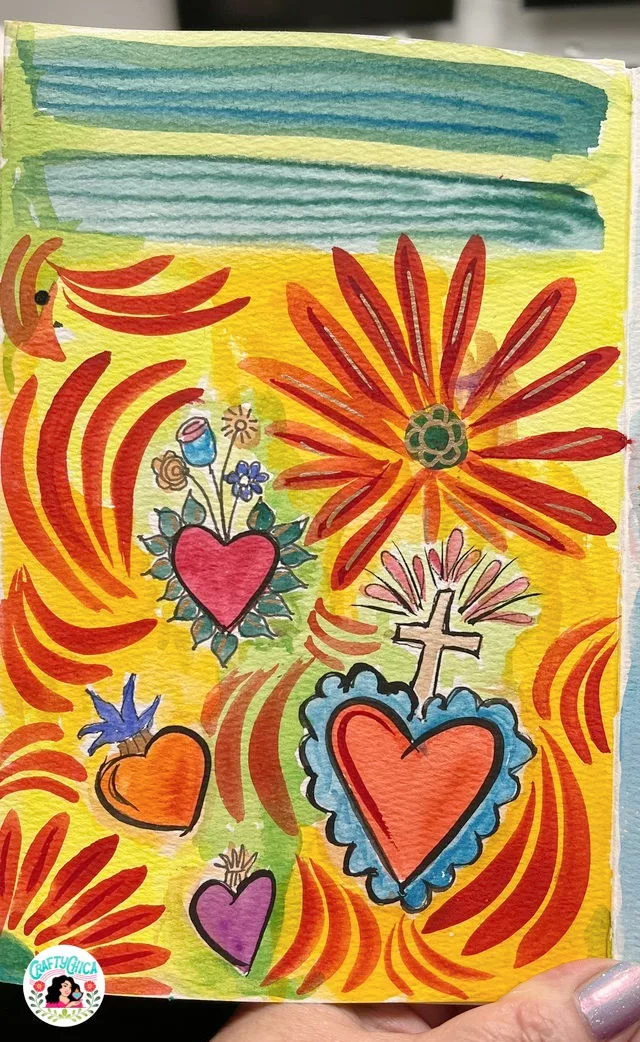
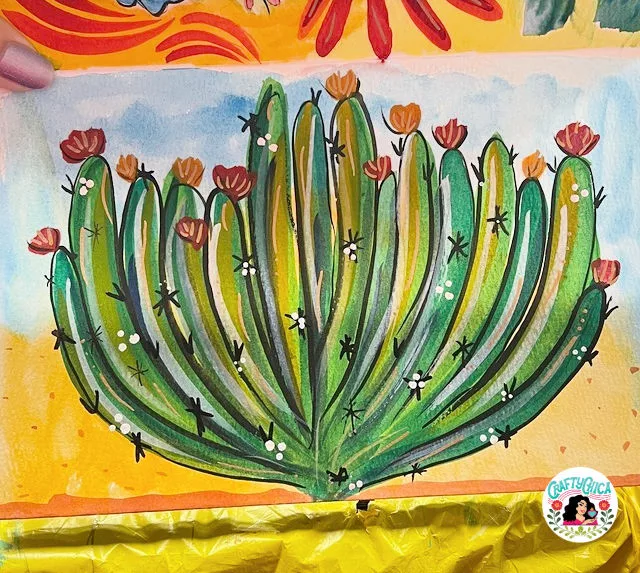
Explore and practice: Start easy with leave and flowers. you can’t go wrong, it will look great! Practice pressing and lifting the brush to make petals.
Fine details: Take one flower and spend a lot of time adding personality – outlines, dots, patterns.
Learn From others: You can find plenty of tutorials and demonstrations online. You can also consider taking a class or workshop for a step-by-step tutorial.

Take care of your supplies: Clean your brushes thoroughly after each painting session to extend their lifespan. Never much your brush to dry it, it will break the bristles. Keep your paints and paper stored in a dry, clean place.
Use a stencil: Tape a stencil to watercolor paper and use a single color or a dark color to follow along the outline. Fill in with a lighter color.
*RELATED: Use stencils to make stenciled watercolor art*
Make an abstract art or an abstract painting: Just make blobs on wet and dry paper. Outline with a skinny black pen.
Have fun: Most importantly, enjoy the process of painting and exploring the medium. Be patient with yourself – mastering watercolors takes time and practice.
Understand your materials:
Familiarize yourself with the characteristics of your watercolor paints, brushes, and paper. Different colors have different levels of transparency and granulation, different brushes create different types of strokes, and different papers absorb water and paint in unique ways. For example a set of dollar store paints will provide different results from an expensive brand. Both are worthy, but have their own signature style. One size does not fit all!
Level two – let’s try other exercises!
Layering and glazing: Use the technique of layering, also known as glazing, to achieve depth and complexity of color in your work. Let each layer dry completely before adding the next. This helps to achieve a glowing effect with your colors and produces different shades.
Wet-on-wet technique: Use the spray bottle and mist your paper. Not too much, just enough to make it damp. It creates beautiful soft edges and blends that are characteristic of watercolor. It is useful in rendering subtle gradations of color, such as in skies or backgrounds.
Dry paper: This is a given, but practice the same techniques on dry paper to see the different results.
Control your water: Water control is crucial in watercolor painting. Too much water can dilute your colors beyond control, while too little can make them overly bold and hard to manage. Experiment to find the right balance with a wet brush.
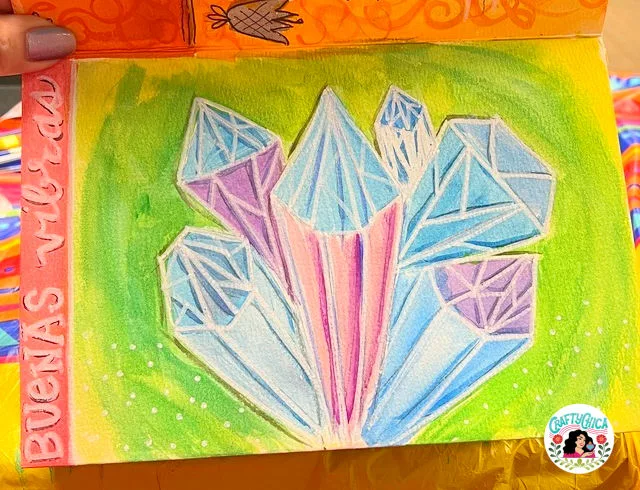
Plan your whites: Unlike other forms of painting, in watercolor, you don’t paint the whites; you preserve them. Planning where you want the whites to be, even before you start painting, will help you achieve better contrast and highlights. And…if all else fails – use a white paint pen to outline everything. That’s what I did for the crystals!
Use a limited palette: Instead of using many different colors, try using a limited palette of primary colors. This can lead to a more harmonious painting, and it also helps you to understand color mixing more deeply.
Value sketching: Spend some time sketching out your values (the lightness or darkness of a color) before you begin. This will help you understand where the light and shadow fall in your painting, which can greatly improve its realism.
Patience: Watercolor painting requires a good deal of patience. Wait for layers to dry before adding new ones to avoid unwanted color mixing. This will also allow you to evaluate your work as it progresses.
Experiment: Don’t be afraid to experiment and make mistakes. Watercolor can be unpredictable, and that’s part of its beauty. Sometimes “happy accidents” can add a special touch to your work that you wouldn’t have thought of otherwise. Create a practice journal so you can experiment like crazy!
Study from life: Try painting from life when you can. This will give you a deeper understanding of how light and color work in the real world. Maybe a can or vase, start simple.
Easy fixes:
Use a white paint pen to add highlights. (Make sure the watercolors are completely dry!)
Use a black Sharpie to outline and add Zentangle designs. It will give it new life.
Cut up and use for artist trading cards.
Use as the background for a journal page.
Fill in the white space or negative space with dots or crosses.
Watch video tutorials online for even more ideas!
RELATED: How to teach a watercolor class for beginners
Advanced but still easy watercolor ideas
Once you are feeling ready to level up, crack those knuckle and go in for some heavier experiences. Remember creativity is free, you can use as much as you want. Allow yourself to experience every which way. So many different ways!
Color gradients: Practice creating smooth transitions with the wet paint from one color to another. Starting point: Saturated vibrant colors and gradually add water to lighten them, creating a gradient effect.
Basic shapes: Paint simple geometric shapes such as circles, squares, and triangles. This can help you learn control and precision with your brush strokes.
Fruit and vegetables: These subjects have simple shapes but diverse colors and textures, making them perfect for beginners. Try using bright colors to paint an apple, orange, or a bunch of grapes.
Florals: Watercolor flowers can be as simple or complex as you want, and they offer an excellent way to practice different techniques such as wet on wet or dry on dry.
Mas ideas!
Landscapes: Start with simple landscapes, like a sunset or a mountain range. This can help you understand how to create depth and perspective in your paintings. How about a pretty night sky?
Color mixing: Take two colors and see how many different hues you can create by mixing them in different proportions. This will help you understand how colors interact with each other.
Textures: Try to recreate different textures like wood, metal, fur, feathers, etc. This will require you to experiment with different techniques and brush strokes.
Washes: Practice creating flat washes, graded washes, and variegated washes. This will help you understand how to control the amount of water you use.
Negative painting: Use vivid colors to paint around objects instead of the objects themselves. This technique can create interesting effects and help improve your understanding of forms. This one is next on my list to try!
Monochromatic studies: Choose one color and create a painting using only that color, but with different values (lightness/darkness). This can help you understand the importance of value in painting.
All of this will help you learn color theory as well. Remember, the goal of these exercises is not to create a perfect painting, but to understand how watercolors work and to improve your skills. So, don’t be discouraged if your results aren’t what you expected. Keep practicing and you’ll get better over time. Happy painting!
RELATED: Watercolor Paper Earrings


Thanks for the refresher! I love painting with watercolors and try to do it daily.
Hi!
Your water colors are fabulous! I hope to take some of your tips and figure out how to do simple pieces!
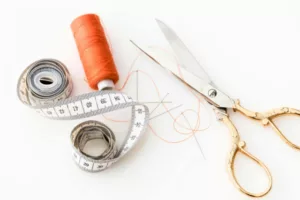
However, my Wheelhouse is the needle and thread! I have your embroidery panel by Moda and the designs are awesome! I would like to embroider the simpler heart for a start and wonder if you have any suggestions for stitches and thread colors! I want it to be like your paintings but only w thread! Hand done- not machine!
Anyway- thank you and your web site is wonderful too! I can just feel your enthusiasm for art and love of color!!!!
Sincerely, Salli B.