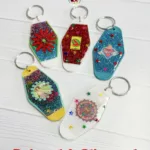
How to make uv resin keychains! These retro style keychains have been everywhere, I’ve seen tutorials on TikTok – make some, shall we? You can buy the acrylic keychain blanks online, or even at the dollar store.

Making UV resin keychains is a great craft for a creative night or to give as gifts. Even to sell at events. If you are an artist, incorporate your own works to make them even more special.
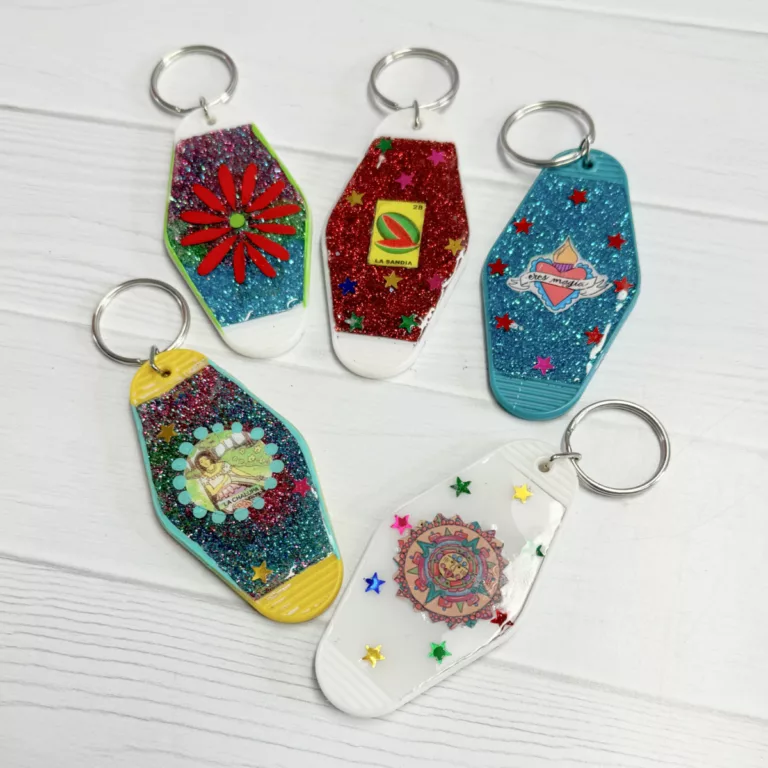
How to make UV resin keychains with glitter
How to make uv resin keychains
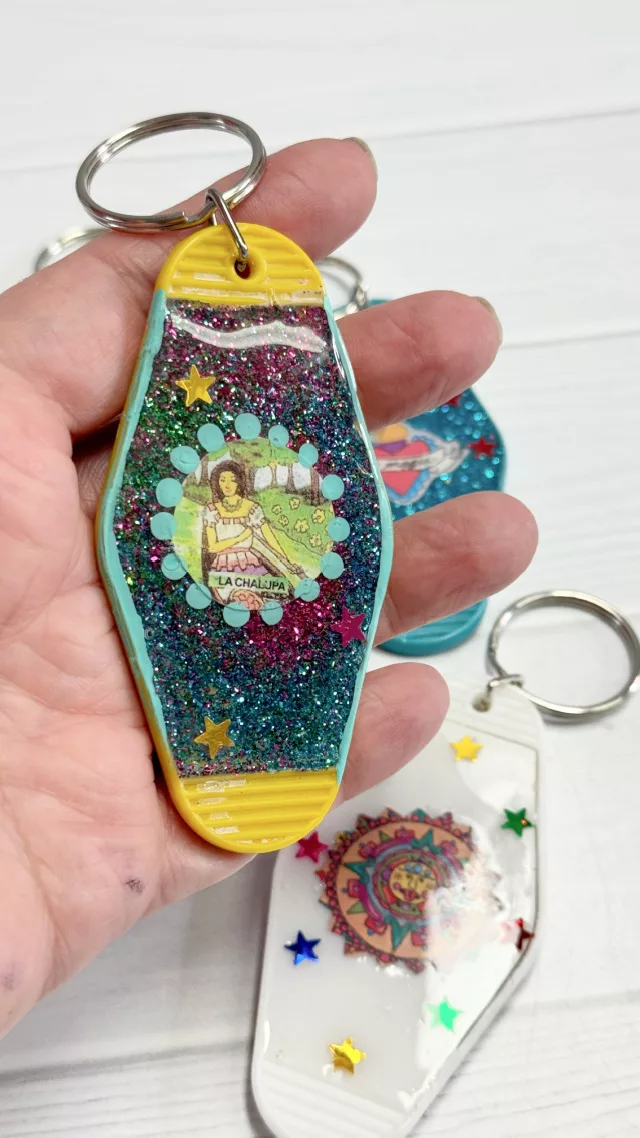
For these, I used a combo of mini-Loteria cards, and painted accents. I love the depth of these, they look so beautiful. It took me a couple hours to make these, mostly because I also decorated the back side of each keychain.
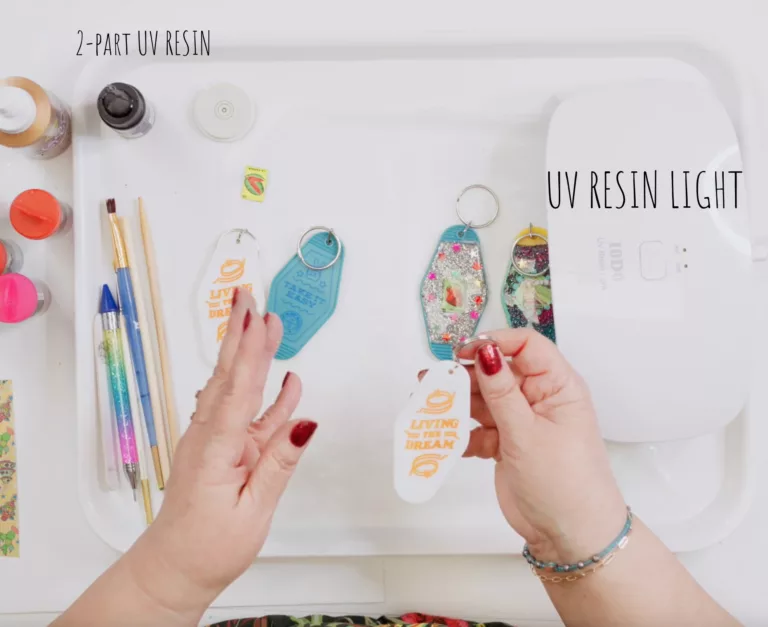
There are different types of resin out there. This is UV resin. If you are new to it, this is a good beginner project. Check out my post about UV resin vs. traditional resin. Basically, UV resin cures under an LED lamp. Kinda like gel nails. It only takes a minute to cure – but it will only solidify where the light hits.
So you can’t use UV resin to bond two pieces together the way you would with traditional let-it-set-overnight-resin.
Supplies for UV resin keychains

Ultra-fine glitter (you can use chunky glitter, but your keychain will not be smooth)
Micro stars or similar small decorations
Printed picture (preferably on thin coated paper)
Toothpicks, a chopstick, or a small silicone spatula
Safety precautions: Disposable gloves and mask!
Wax paper or silicone mat to protect your work surface
Directions:
Prepare your work area by laying down wax paper or a silicone mat to protect the surface.
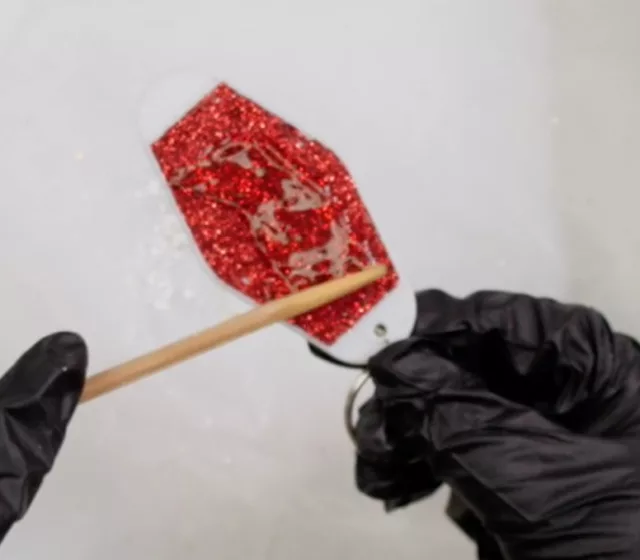
Add a coat of Mod Podge to the keychain surface and pour a layer of glitter. Tap away excess. Let dry.
Add first layer
Squeeze a very thin layer of resin over the glittered area. Just enough to smoothly cover it. Use a toothpick or silicone spatula to spread the resin evenly.
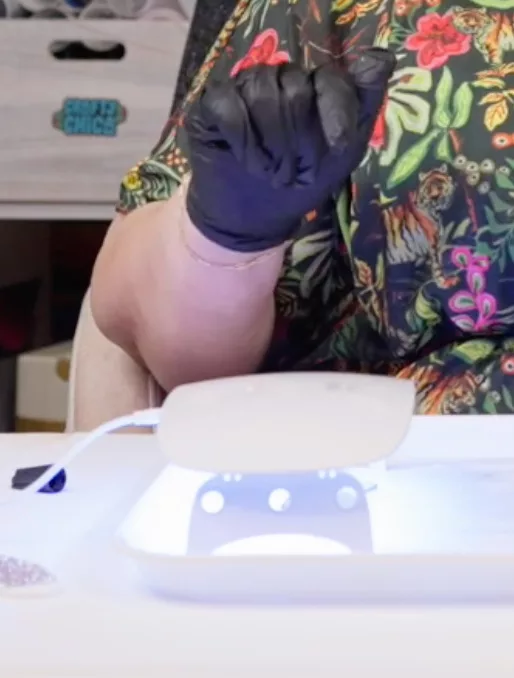
Curing time
Cure the resin under a UV lamp or UV LED light for the time recommended by the resin manufacturer. Usually a minute or two. It doesn’t take a long time to cure, that’s what makes UV resin so fun to work with.
Add image to keychain
Once the base layer is cured, glue the image in the center. Make sure it is on coated paper (or you can coat ahead of time with Mod Podge). Make sure all the edges are sealed down and flush with the cured resin layer.
Add dots of Mod Podge and apply the micro stars all around. Or add painted designs.
Next step, finish up!
After it is dry, add another thin layer of UV resin and over the surface to seal it in. Use the UV lamp or light to cure this layer.
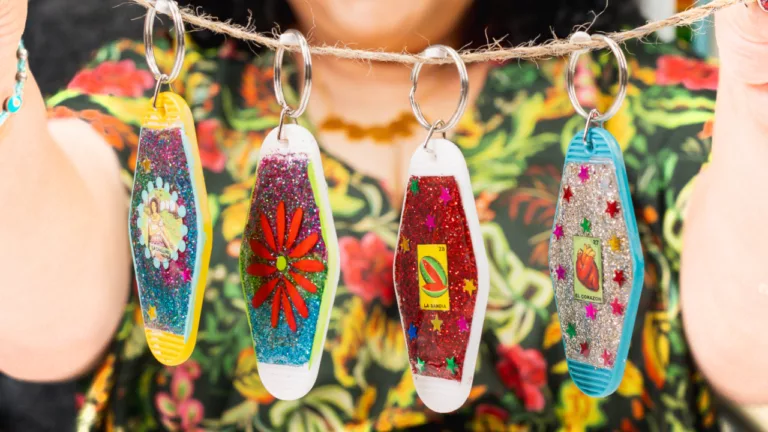
And you are done! Now repeat the process with the other keychains and mix and match the designs!
Remember to work in a well-ventilated area and wear disposable gloves to protect your skin from the resin and Mod Podge.
CLEAN UP: Use nail polish remover and a paper towel to remove any excess uncured resin.
Other ideas:
Use a silicone mold for your keychains in whatever shapes you want.
Sprinkle mica powder instead of glitter for a shimmery look.
Embed shaker charms instead of micro charms.
Isn’t this such a great project for friends or family members?


What a fun idea. I didn’t realize you could by motel key blanks. Always enjoy seeing your work.
Aren’t they so fun? And yes, you can buy them in bulk and then paint them!!