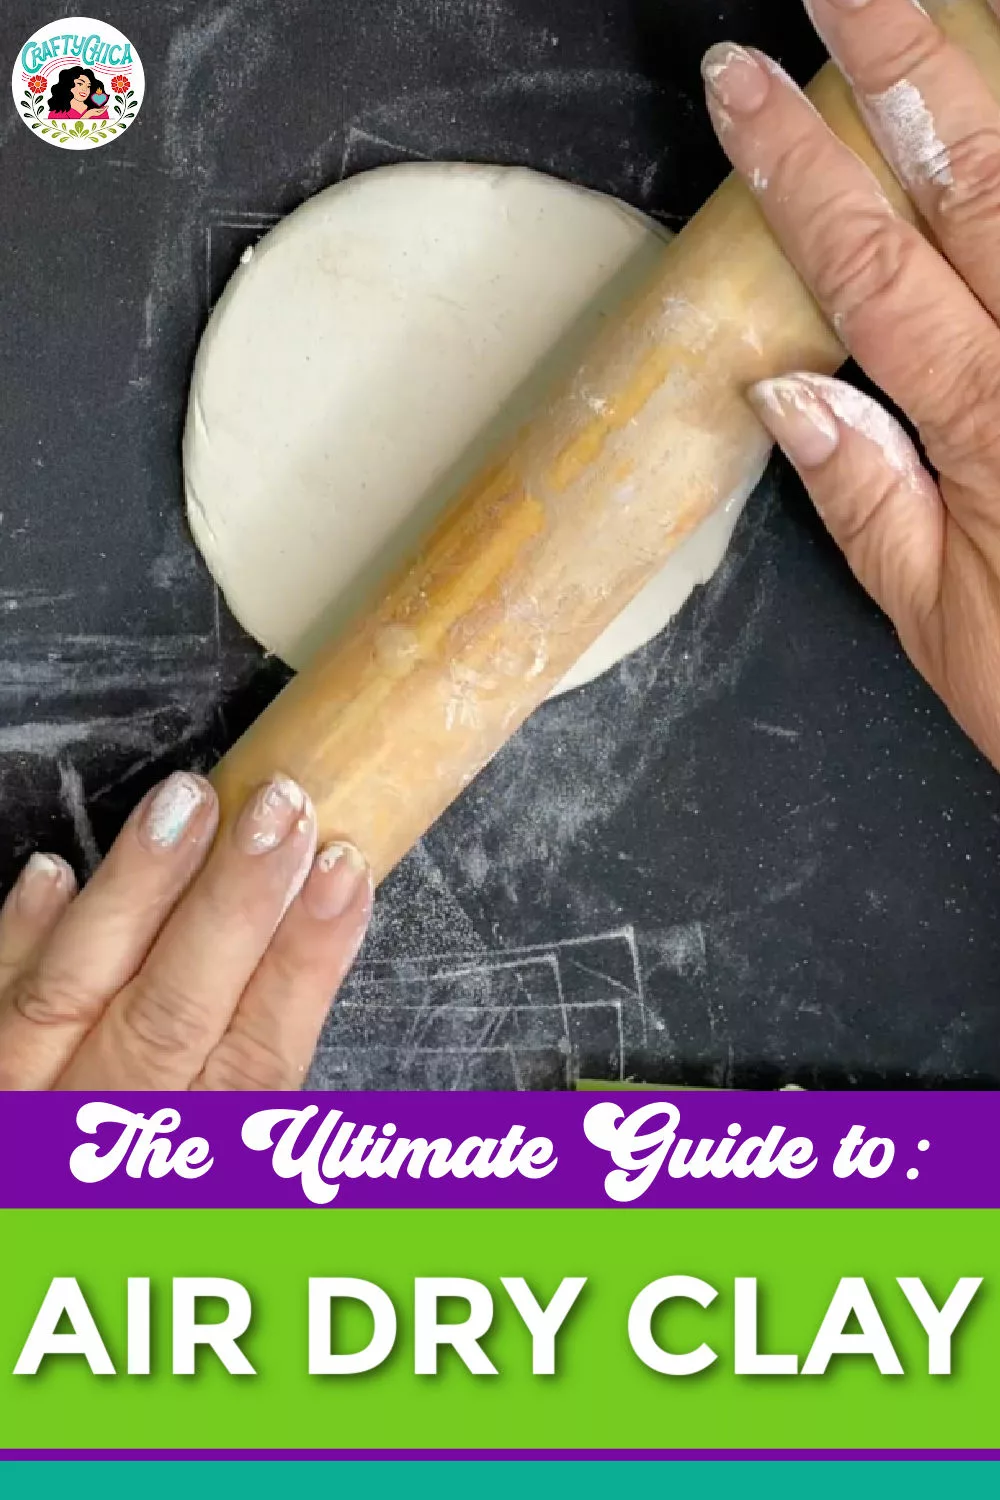
Here is an air dry clay 101 guide for you – in the form of DIY mini shrines!
Air dry has become my go to when it comes to teaching ceramic classes when a kiln is not an option. It’s the next best thing. If you are interested in ceramics, using air dry clay is an easy way to test the waters.
Whether you’re sculpting a mini masterpiece or dipping into decorative crafts, these beginner-friendly tip will fuel your clay-based adventures!

Air Dry Clay 101:
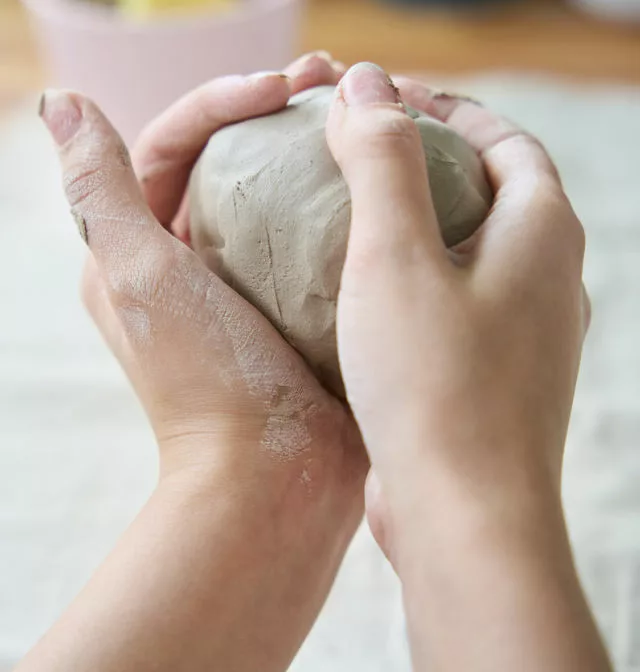
– Always knead your clay before you start sculpting. This will make it pliable and easier to work with.
– Creating a larger project or an item like a bowl or plate? Keep the thickness between 1/4 to 1/2 inch.
– For a smooth finish, use water on your fingers or a soft brush to smooth out rough edges and fingerprints.
– When adding pieces or details, score (scratch) both surfaces and add a little water. This will help the two clay pieces fuse together more securely.
– Allow the clay to dry thoroughly. Depending on the thickness and the brand, this can take between 24 to 72 hours. Cover in plastic for the first few hours. Turn the piece occasionally will help it dry evenly.
Drying the clay
– Don’t leave your projects to dry in direct sunlight, as this can cause cracking or warping.
– If you’re storing unused clay, wrap it tightly in plastic wrap and store it in an airtight container to prevent it from drying out.
– Lightly sand the dried clay with fine-grit sandpaper for a smooth finish. Always wear a mask when sanding to avoid inhaling clay dust.
– Air dry clay can be painted after it’s completely dry. Acrylic paints work best. You can also use watercolors for a more translucent effect.
– To protect your finished project, apply a sealant. This will protect the paint and give it a polished look. You can choose between matte or glossy finishes depending on your desired look.
– Avoid prolonged exposure to moisture or water to your finished piece.
More tips:

Practice, practice, practice! Like any other skill, working with air dry clay improves with practice. Don’t be discouraged if your first few projects aren’t perfect. Learn from any mistakes, and keep refining your technique!
Tools: To start, use what you have on hand, but once you really get into it, invest in some decent tools. your finished work will thank you!
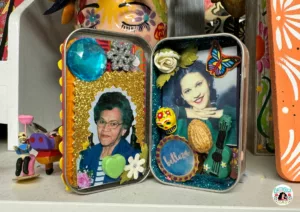
DIY Mini shrines!
Now that you have air dry clay 101 out of the way, it’s time to put it to use!
SUPPLIES:
Air dry clay (white or terracotta depending on your preference)
Acrylic paints & brushes
Mod Podge or other Clear sealant (to protect your work)
Decorative items like beads, sequins, small mirrors, etc.
Sculpting tools or household items (toothpick, knife, etc.)
A rolling pin or a cylindrical object
Sheet of craft foam to work on
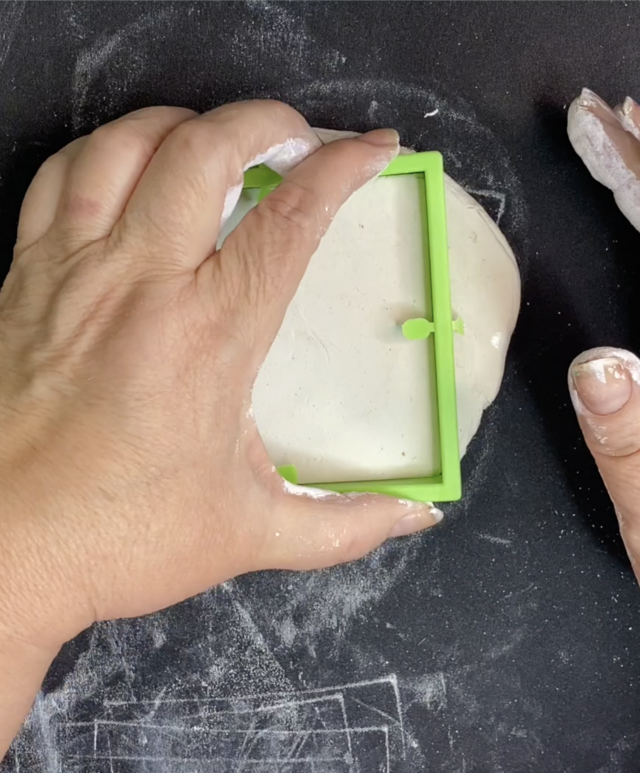
Cookie cutters (optional)
Directions:
Start by sketching a rough design on paper. Do you want a small box shrine or a standing version? I went with all of them!
Set the craft foam sheet on your table, you can also use cardboard or raw canvas. This is so the clay won’t stick. Knead the clay until it feels smooth and pliable, prepping it for the sculpting process.
Build the structure
Create a sturdy base for your shrine by rolling out the clay. About 1/4-1/2″ thick.
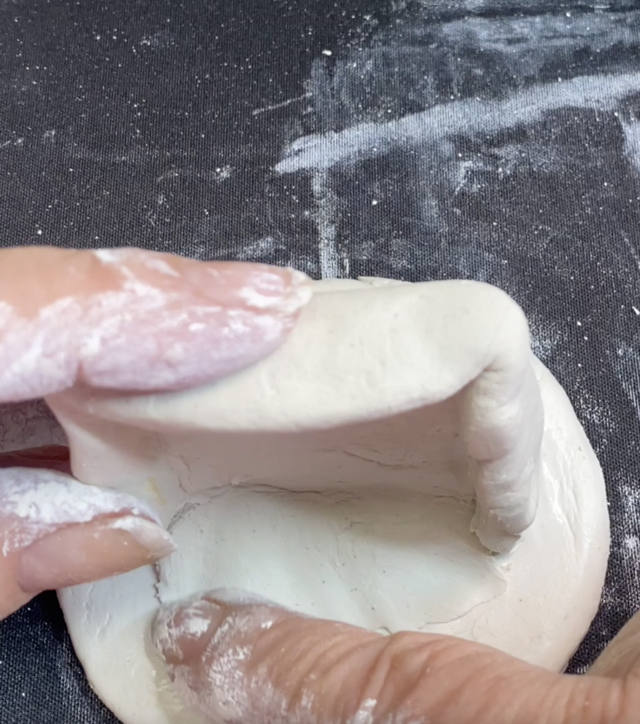
Determine the pivotal elements of your shrine, use your fingers and sculpting tools to shape the clay. If you’re leaning towards a niche-like shrine, carve out borders and walls to enclose what ever trinket you add at the end of the process.
Score where the clay pieces will meet and add a bit of water. Smooth the pieces together until they are seamless.
Follow the manufacturer’s guidelines for drying. Typically, 24-48 hours suffices, but bulkier creations might need more time. Place your project in a spot with good airflow, periodically turning it to guarantee uniform drying. Hold the item against your cheek, if it feels super cold, it still isn’t dry.
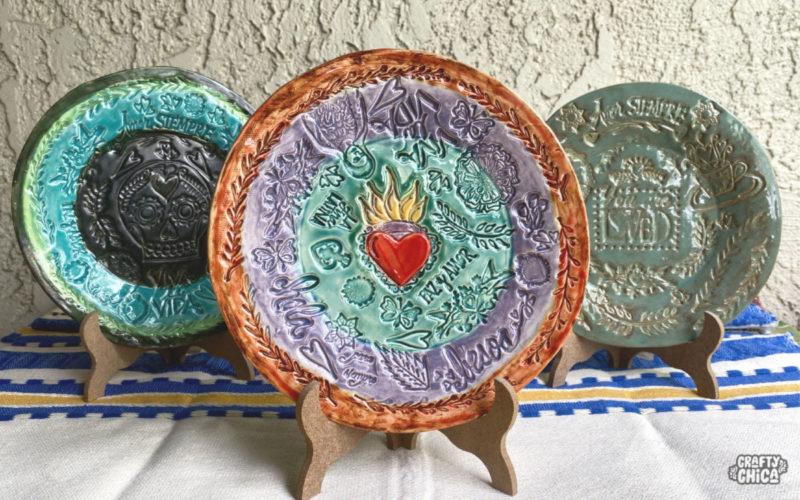
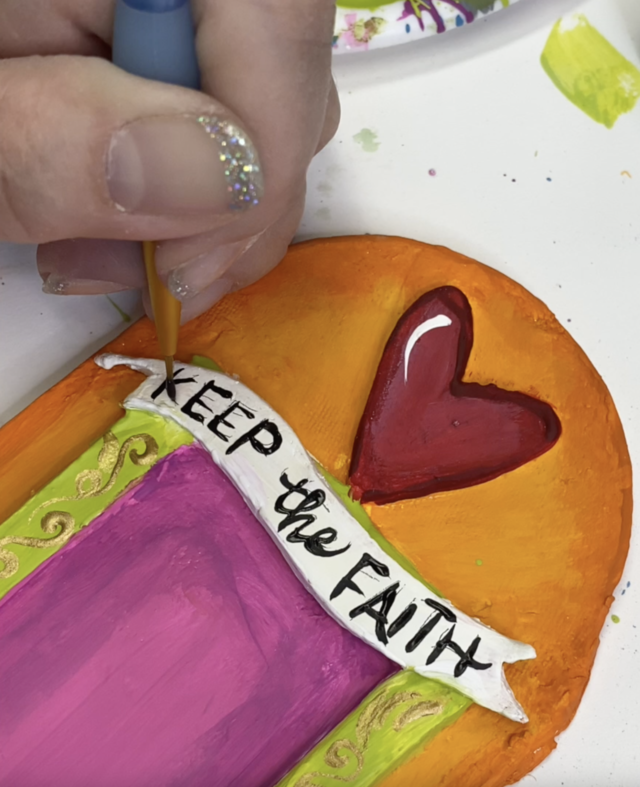
Decorate!
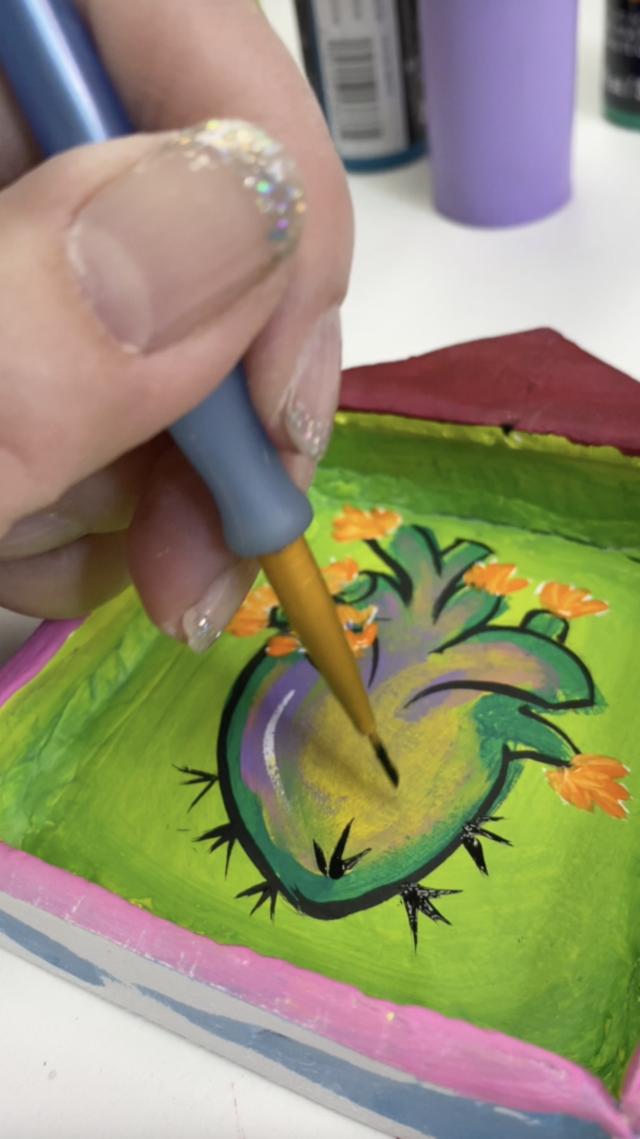
Once it is dry, it’s time to paint. Make sure it’s DRY. If your clay has moisture, it will cause the paint to bubble. Add base coat colors, then accent colors. Let dry.
Add a layer of Mod Podge or other sealer. This will protect against moisture as well as make it look shiny!
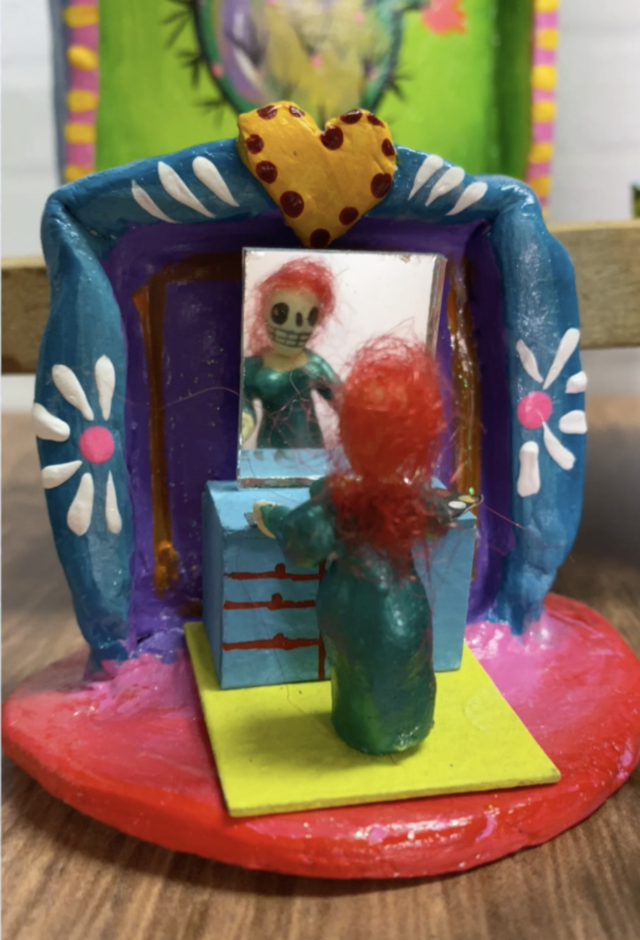
Take it to the next level and add rhinestones, sequins, or fabric, depending on your preference.
Show it off!
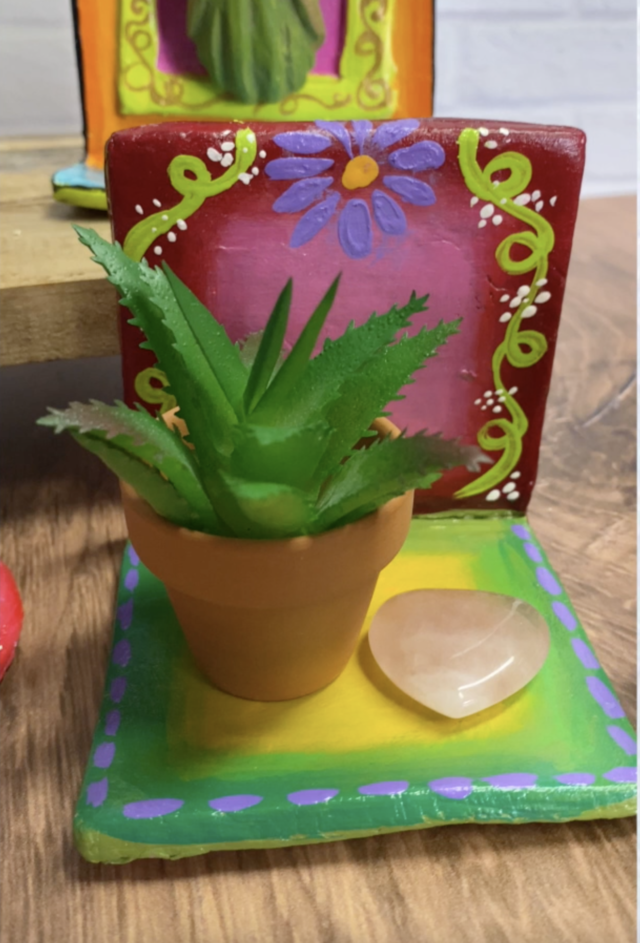
Remember, the beauty of folk art is in its handmade, rustic nature. Imperfections and unique twists add to the charm. Enjoy the process, and embrace the creative journey!
Other items to make with air dry clay
Air dry clay ideas: Wall pockets!
How to Make Air-Dry Clay Ornaments!
Beads and pendants
Drink coasters (seal with resin!)
Miniature planters.
Small decorative cups or bowls, keeping in mind that air dry clay isn’t waterproof. For those planning to house plants, consider placing a small plastic or glass container inside the clay planter.
Fridge magnets.
Keychains.
Decorative tiles.
Trinket dishes.
Alebrijes (little animals)
Pins.
Custom buttons.
Thanks for checking out my post about air dry clay and diy mini shrines!